
Installing OpenClaw on a VPS can be confusing for first-time users, especially when dealing with gateway authentication errors, SSH tunneling and localhost binding issues. Many tutorials skip these real-world problems and leave you stuck halfway through the setup.
In this practical guide, you’ll learn how to properly install and configure OpenClaw on a VPS, fix common gateway errors, securely access the dashboard from your local machine using SSH port forwarding, and verify your setup with health checks. This article is optimized for developers and automation engineers who want a working OpenClaw setup on a remote server without wasting hours on trial and error.
What is OpenClaw?
OpenClaw is an AI agent gateway and orchestration tool that allows you to run agents locally or remotely, manage sessions, expose a control UI, and connect tools like automation workflows, APIs, and plugins. Running OpenClaw on a VPS allows you to:
- Keep agents always online
- Access the Control UI remotely
- Integrate OpenClaw with tools like n8n
- Avoid local machine dependency
You can refer comparison of Zapier,n8n and OpenClaw in the blog here.
Prerequisites
Before starting, make sure you have:
- A VPS (Ubuntu 20.04+ recommended)
- A terminal (Command Prompt / PowerShell on Windows, Terminal on Mac/Linux)
- An SSH client (Windows 10+ already has
sshbuilt in) - Node.js installed (v20+ recommended)
- SSH access from your local machine
Step-by-Step: How to Install OpenClaw on a VPS
I’ll assume your VPS is Ubuntu 20.04 or 22.04 (most common)
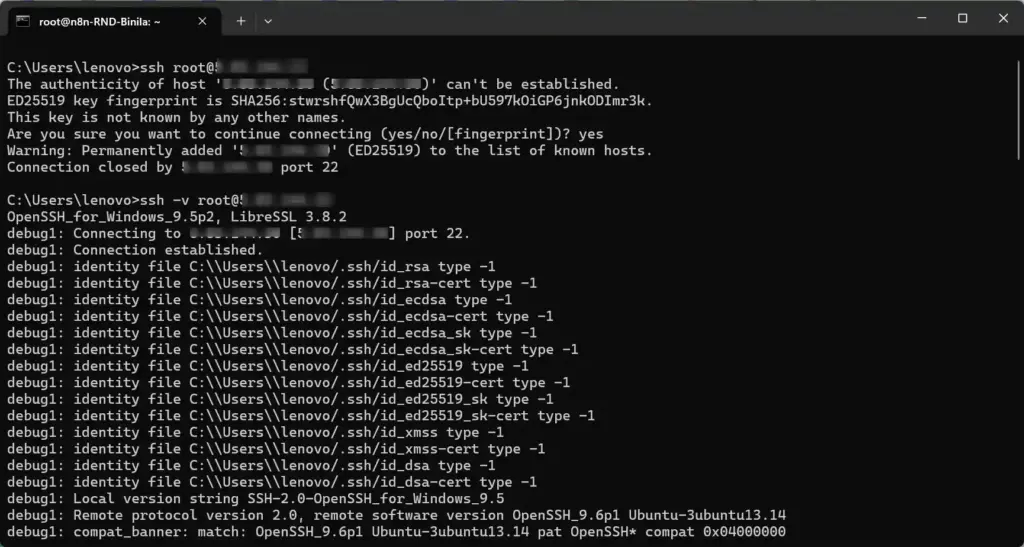
Step 1: Connect to Your VPS from Your PC
On your PC terminal, run:
ssh root@YOUR_VPS_IPIt will ask for your password (the new one you just changed).
Step 2: Basic Server Setup (Important for Beginners)
Update system:
apt update && apt upgrade -yInstall basic tools:
apt install -y curl git ufw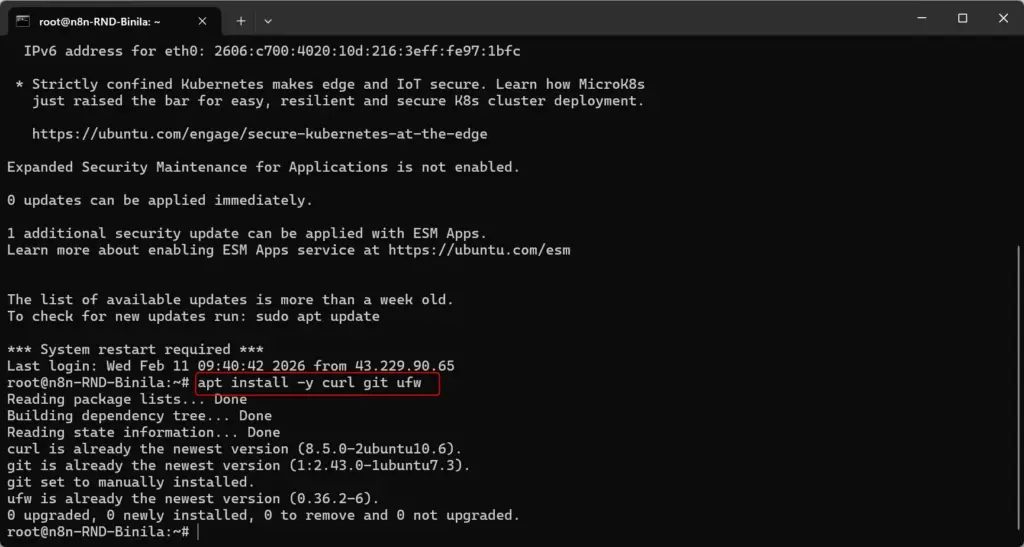
Step 3: Install Docker the correct way (Official Method)
Run these commands one by one:
apt update
apt install -y ca-certificates curl gnupg
install -m 0755 -d /etc/apt/keyrings
curl -fsSL https://download.docker.com/linux/ubuntu/gpg | gpg --dearmor -o /etc/apt/keyrings/docker.gpg
chmod a+r /etc/apt/keyrings/docker.gpgecho \
"deb [arch=$(dpkg --print-architecture) signed-by=/etc/apt/keyrings/docker.gpg] https://download.docker.com/linux/ubuntu \
$(. /etc/os-release && echo "$VERSION_CODENAME") stable" \
> /etc/apt/sources.list.d/docker.listapt updateStep 4: Install Docker + Docker Compose Plugin
Now this will work:
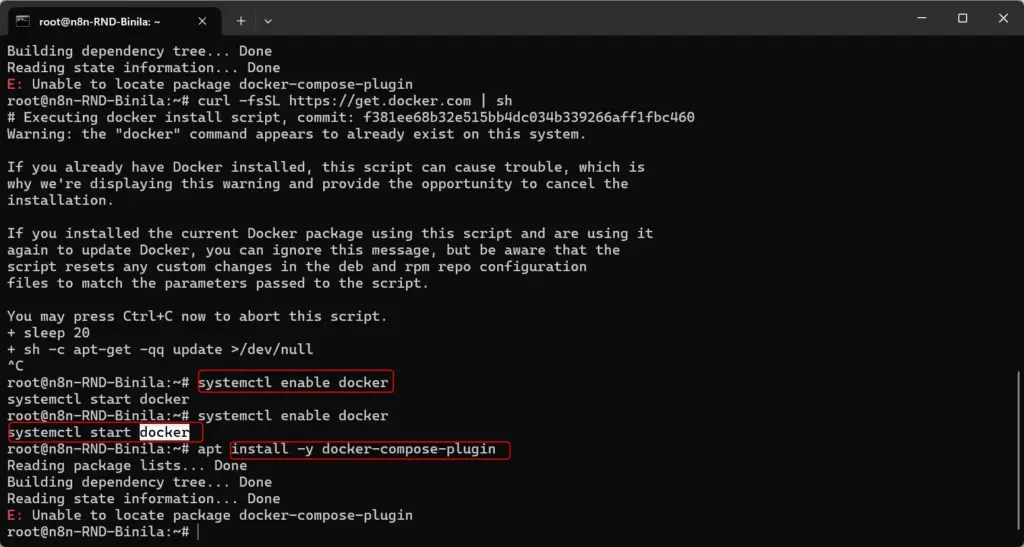
apt install -y docker-ce docker-ce-cli containerd.io docker-buildx-plugin docker-compose-pluginEnable Docker orchestration platform on startup:
systemctl enable docker
systemctl start docker
Verify Docker & Compose are installed
docker --version
docker compose version
You should see versions printed. If yes → Docker is ready.
Step 5: Create a Folder for OpenClaw
mkdir -p /opt/openclaw
cd /opt/openclaw
Step 6: Install Node.js (Required)
OpenClaw runs on Node.js.
curl -fsSL https://deb.nodesource.com/setup_22.x | bash -
apt install -y nodejs
Verify:
node -v
npm -v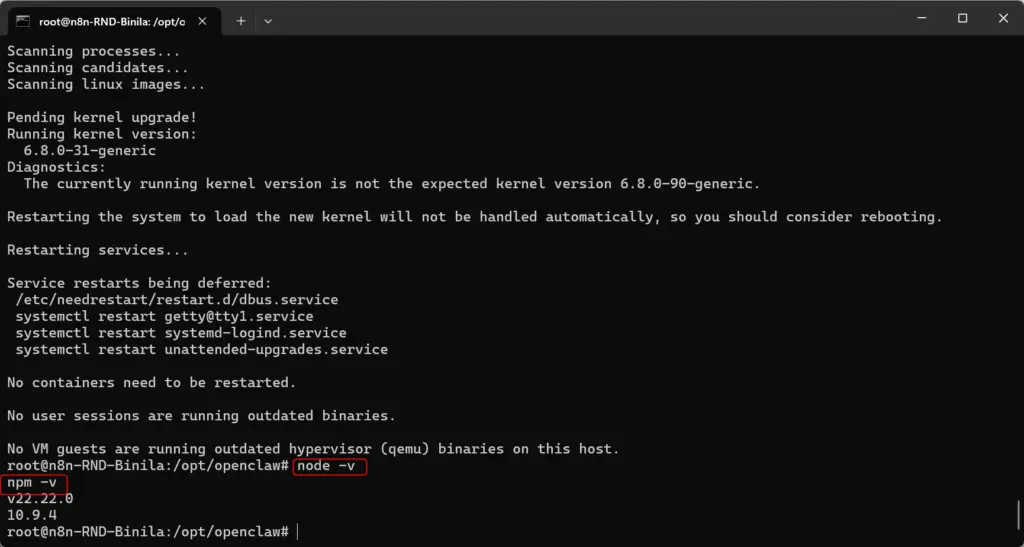
Step 7: Install OpenClaw
Run this command:
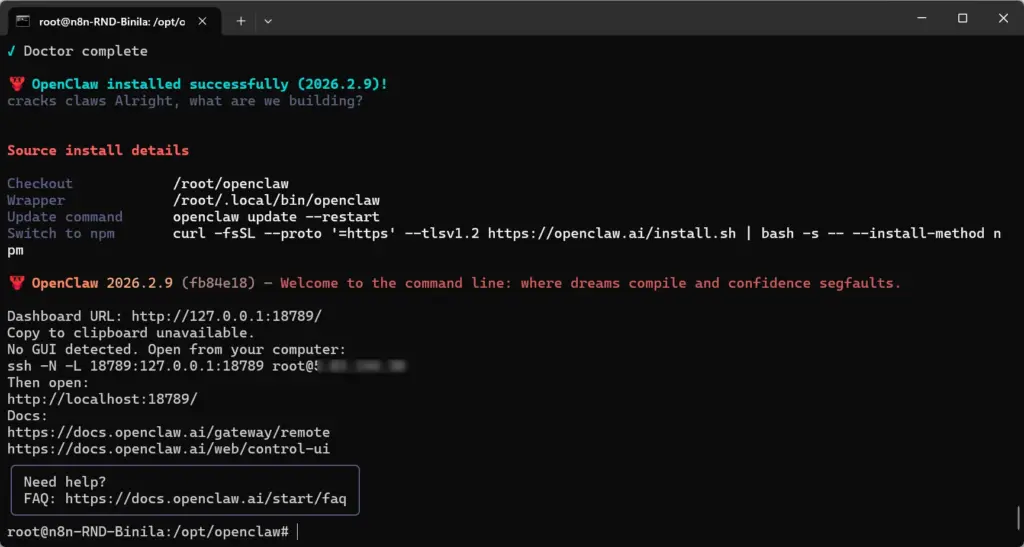
curl -fsSL https://openclaw.ai/install.sh | bash -s -- --install-method git --no-prompt --no-onboardThis installs OpenClaw globally.
Verify:
openclaw --version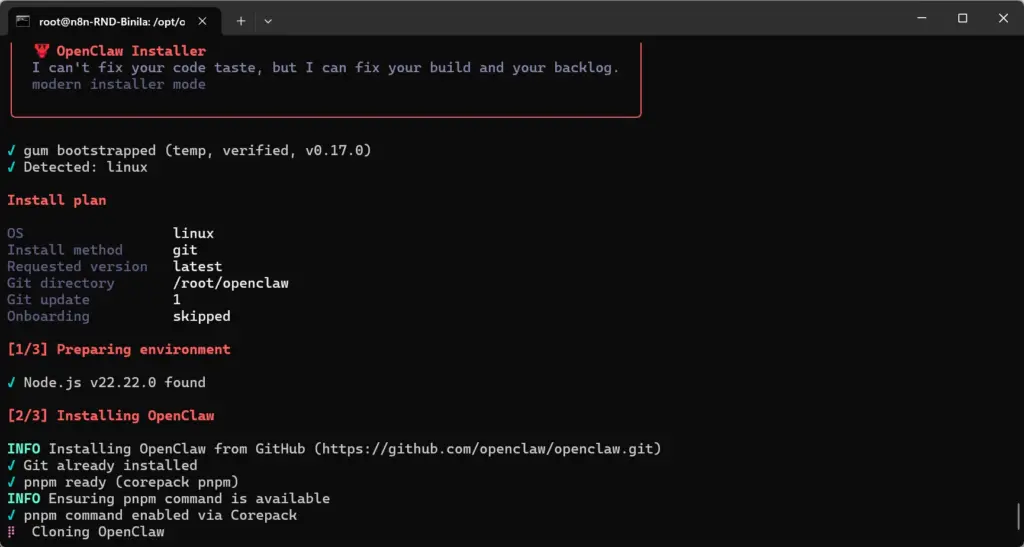
If you see a version number, installation worked. Start OpenClaw in background (proper way)
Install the OpenClaw Gateway service
Run this on your VPS:
openclaw gateway installThis sets up the background service (openclaw-gateway.service).
Step 9: Configure Gateway Authentication & Port (IMPORTANT)
Before starting the gateway, configure security settings.
Open the config file:
nano /root/.openclaw/openclaw.jsonReplace everything with:
{
  "gateway": {
    "mode": "local",
    "port": 18789,
    "auth": {
      "password": "********"
    }
  }
}
Save and exit Nano:
CTRL + X
Y
ENTER
This step ensures:
- Gateway runs on the correct port
- Dashboard is password protected
- Config matches OpenClaw schema
- Prevents authentication errors later
Step 10: Start OpenClaw Gateway
Run this:
openclaw config set gateway.mode local
openclaw gateway start
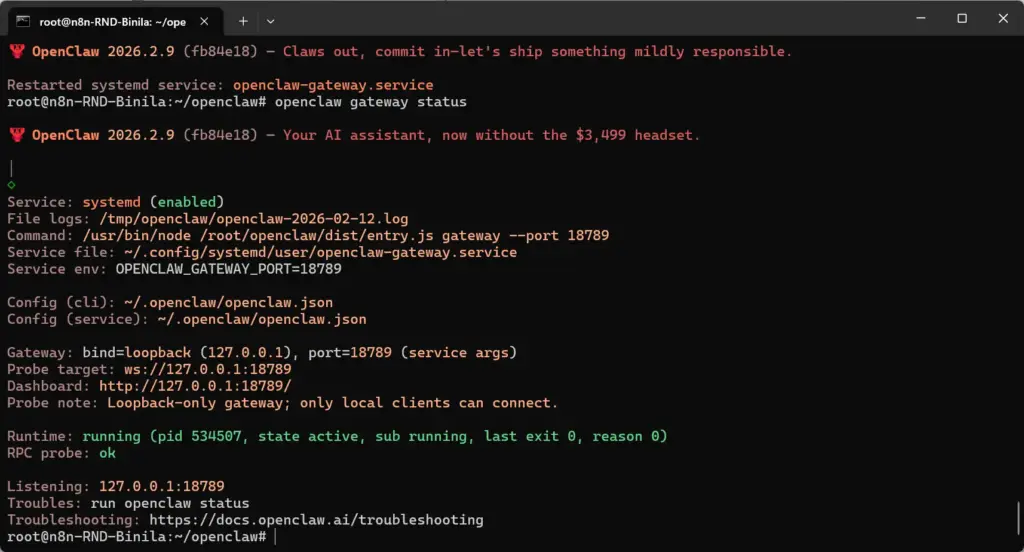
Check status:
openclaw gateway statusRun OpenClaw doctor (auto-fixes config + service) if any error occurs.
openclaw doctor --fixThis syncs the config with systemd.
Step 11:Using SSH Tunnels to Access OpenClaw
You keep OpenClaw running on the VPS, but you pipe the UI securely to your laptop:
Open in another new Command Prompt and run:
PS C:\Users\You>ssh -N -L 18789:127.0.0.1:18789 root@<VPS_IP>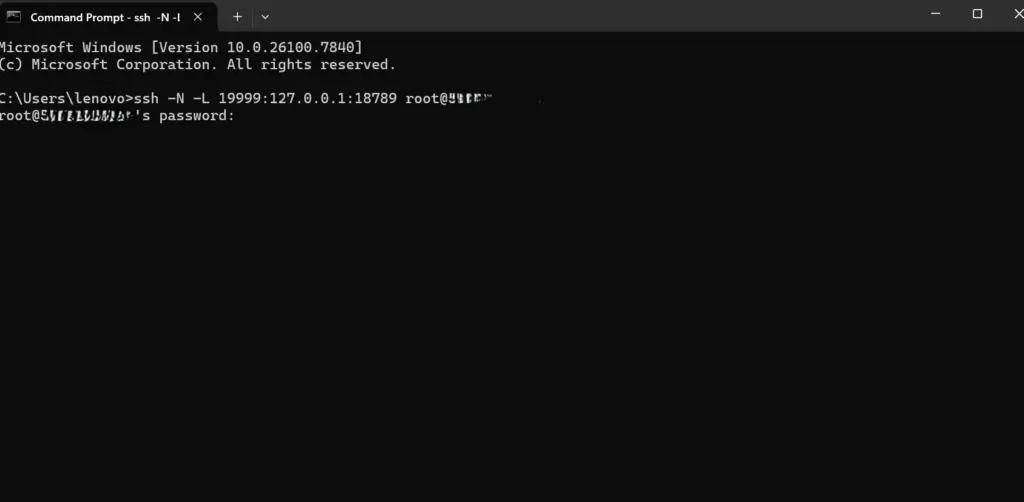
When SSH Tunnels Are Perfect
Use SSH tunnels if:
- You are setting things up
- You’re testing automations
- You’re the only admin
- You don’t want to deal with HTTPS + domains
- You just want things to work without more infra headaches
This matches your situation right now.
When You Should Avoid SSH Tunnels
Avoid SSH tunnels only if:
- You need team access
- You want 24/7 browser access from anywhere
- You’re building a product / client-facing system
- You want mobile access
Then HTTPS + domain is the correct architecture.
Best Practical Setup (What I’d Do in Your Place)
Right now:
Use SSH tunnel to get productive and stop wasting time on infra.
Later (if needed):
Move to Nginx + HTTPS once your workflows are stable.
Step 12: Open firewall port on VPS
Allow port:
ufw allow 18789
ufw reload
Then open in your browser:
http://localhost:18789
Common Errors & Fixes When Installing OpenClaw on VPS
Even when installation steps are followed correctly, OpenClaw users often face runtime errors. Most of these issues are caused by misconfiguration, firewall blocks, or service dependency problems. Below are the most common real-world errors and how to fix them.
1. Gateway Authentication Error
When accessing the OpenClaw dashboard, users may see:
- Authentication failed
- Gateway access denied
- Dashboard keeps redirecting
This usually happens when the gateway password or authentication configuration is missing or incorrect.OpenClaw uses a gateway authentication system to prevent unauthorized access. If the configuration file is incomplete, the gateway blocks UI access.
Fix
Open the configuration file:
nano /root/.openclaw/openclaw.jsonReplace with a valid configuration:
{
  "gateway": {
    "mode": "local",
    "port": 18789,
    "auth": {
      "password": "StrongPass@123"
    }
  }
}
Restart the gateway:
openclaw gateway restart2. OpenClaw Dashboard Not Loading
Browser shows:
- Page not loading
- Connection refused
- Blank screen
Common causes include:
- Gateway service is not running
- Incorrect port configuration
- Firewall blocking access
Fix:
Check gateway status:
openclaw gateway statusIf not running:
openclaw gateway start
Also verify the port:
netstat -tulnp | grep 187893. Port Blocked by Firewall
OpenClaw runs successfully, but dashboard cannot be accessed remotely.Ubuntu VPS typically uses UFW firewall which blocks ports by default.
fix:
Allow OpenClaw port:
ufw allow 18789
ufw reload
Verify firewall status:
ufw status4. OpenClaw Service Not Starting
Gateway fails to start or stops after reboot.Possible reasons:
- Corrupted configuration
- Missing dependencies
- System service not registered correctly
Fix:
Run diagnostic tool:
openclaw doctor --fixCheck service logs:
journalctl -u openclaw-gateway.serviceEnable auto-start:
systemctl enable openclaw-gateway5. Node.js Version Mismatch
OpenClaw fails to install or shows runtime errors .OpenClaw requires modern Node.js versions (usually v20+ or v22+). Older versions cause dependency failures.
Fix
Check Node version:
node -vInstall latest Node version:
curl -fsSL https://deb.nodesource.com/setup_22.x | bash -
apt install -y nodejs
Production Best Practices for Running OpenClaw
Installing OpenClaw is only the first step. Running it safely in production requires infrastructure discipline.
1. Use HTTPS
Running OpenClaw over HTTP exposes credentials and session cookies.
- Prevents data interception
- Secures authentication
- Protects API communication
Production deployments should always use SSL certificates via:
- Nginx reverse proxy
- Let’s Encrypt SSL certificates
2. Use Reverse Proxy
A reverse proxy like Nginx sits between the internet and OpenClaw.
- Adds HTTPS security
- Hides backend port
- Enables domain-based access
- Provides traffic filtering
Example production flow:
Internet → Nginx → OpenClaw Gateway3. Separate Staging & Production
Never test new workflows directly in production.
- staging.openclaw.domain.com
- openclaw.domain.com
This allows safe testing without affecting live automation systems.
4. Enable Logging & Monitoring
Automation systems must be observable.
- Workflow execution failures
- Gateway uptime
- API errors
- Performance latency
Recommended tools:
- Grafana
- ELK Stack
- Datadog
- Basic system logs
5. Secret Management
Never hardcode sensitive information. Store secrets in:
- Environment variables
- Secret management tools
- Encrypted configuration storage
Rotate credentials regularly to prevent breaches.
You can refer the pros, cons and best practices of OpenClaw in this blog.
Verification & Health Checks After Installation
Before using OpenClaw in production, verify system health.
1. Gateway Status Commands
Check whether the gateway is active:
openclaw gateway statusRestart service if required:
openclaw gateway restart2. Log Checking
Logs help diagnose failures.Check service logs:
journalctl -u openclaw-gateway.serviceLogs help identify:
- Authentication failures
- Plugin crashes
- Network issues
3. Connectivity Test
Confirm dashboard access. Test locally:
curl http://localhost:18789If using SSH tunneling.Open browser:
http://localhost:18789If using reverse proxy.Test domain URL and verify SSL certificate.
Security Best Practices
- Use token auth instead of password
- Don’t expose OpenClaw directly to the internet without HTTPS
- Use SSH tunnels or a reverse proxy (Nginx/Caddy)
- Store secrets in environment variables
- Rotate tokens periodically
Conclusion
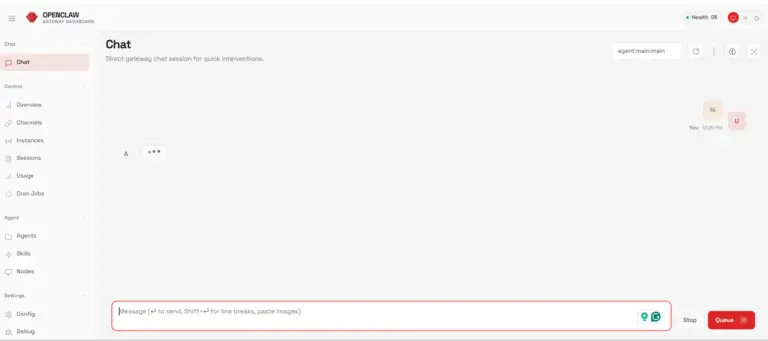
Installing OpenClaw on a VPS is not just about running one command it requires understanding gateway binding, authentication, and secure remote access. By using SSH tunneling and token-based authentication, you can safely manage OpenClaw from your local browser while keeping the gateway private on your server. Once you see health: ok, your OpenClaw setup is production-ready and stable.
If you want a stable and developer-friendly environment, choosing a reliable VPS provider is critical. Ucartz VPS hosting offers high-performance servers, flexible resource allocation, full root access, and optimized infrastructure suitable for running automation tools like OpenClaw, n8n, and other AI orchestration platforms.
With scalable configurations, strong network uptime, and responsive technical support, Ucartz helps developers and automation engineers focus on building workflows instead of troubleshooting server limitations.
If you’re planning to deploy OpenClaw or similar automation tools for long-term use, selecting a reliable VPS platform can save significant time and operational headaches.
FAQ
1. How do I install OpenClaw on a VPS?
Install OpenClaw on your VPS, start the gateway using openclaw gateway install, generate a token with openclaw doctor --generate-gateway-token, and access the dashboard via SSH tunnel.
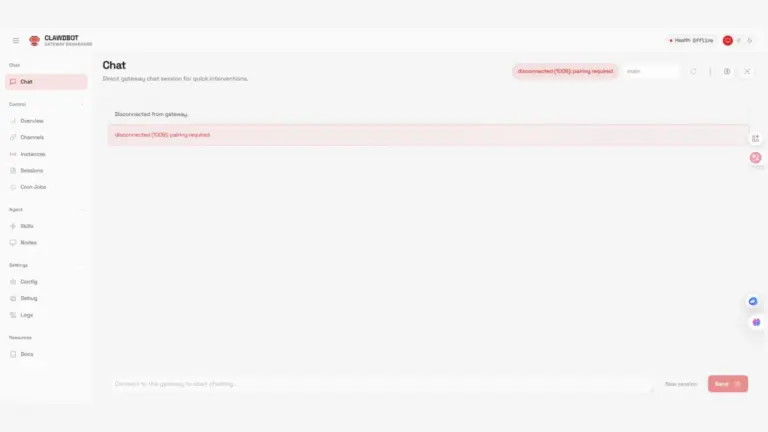
2. Why does OpenClaw show “disconnected (1008): unauthorized”?
This happens when the gateway requires authentication and no token or password is provided. Generate a gateway token and pass it in the dashboard URL.
3. Can I expose OpenClaw publicly without SSH?
Yes, but it’s not recommended unless you use HTTPS and configure a reverse proxy like Nginx with authentication and trusted proxies.
4. Is SSH tunneling safe for OpenClaw?
Yes. SSH port forwarding is one of the safest ways to access OpenClaw remotely because the gateway remains bound to localhost and is not publicly exposed.