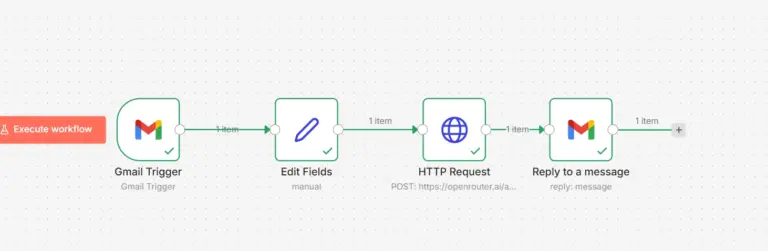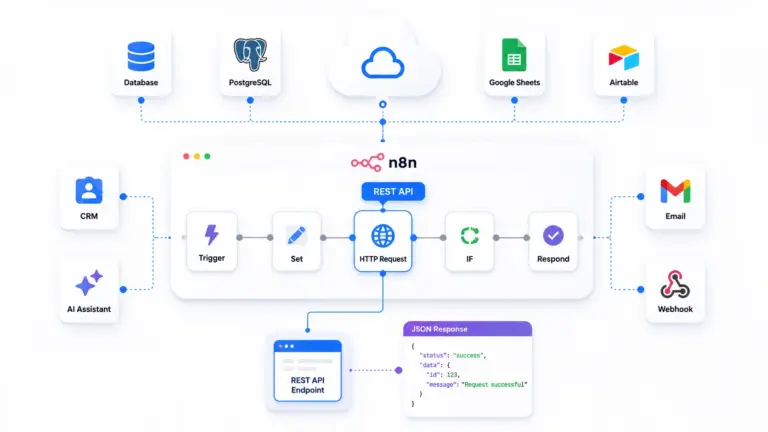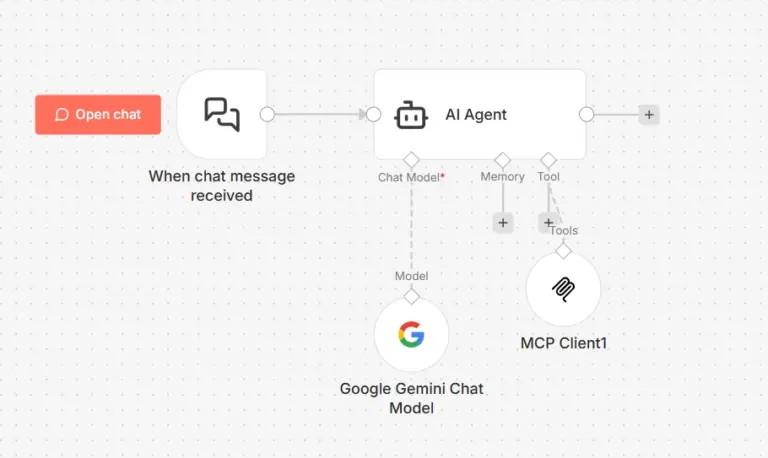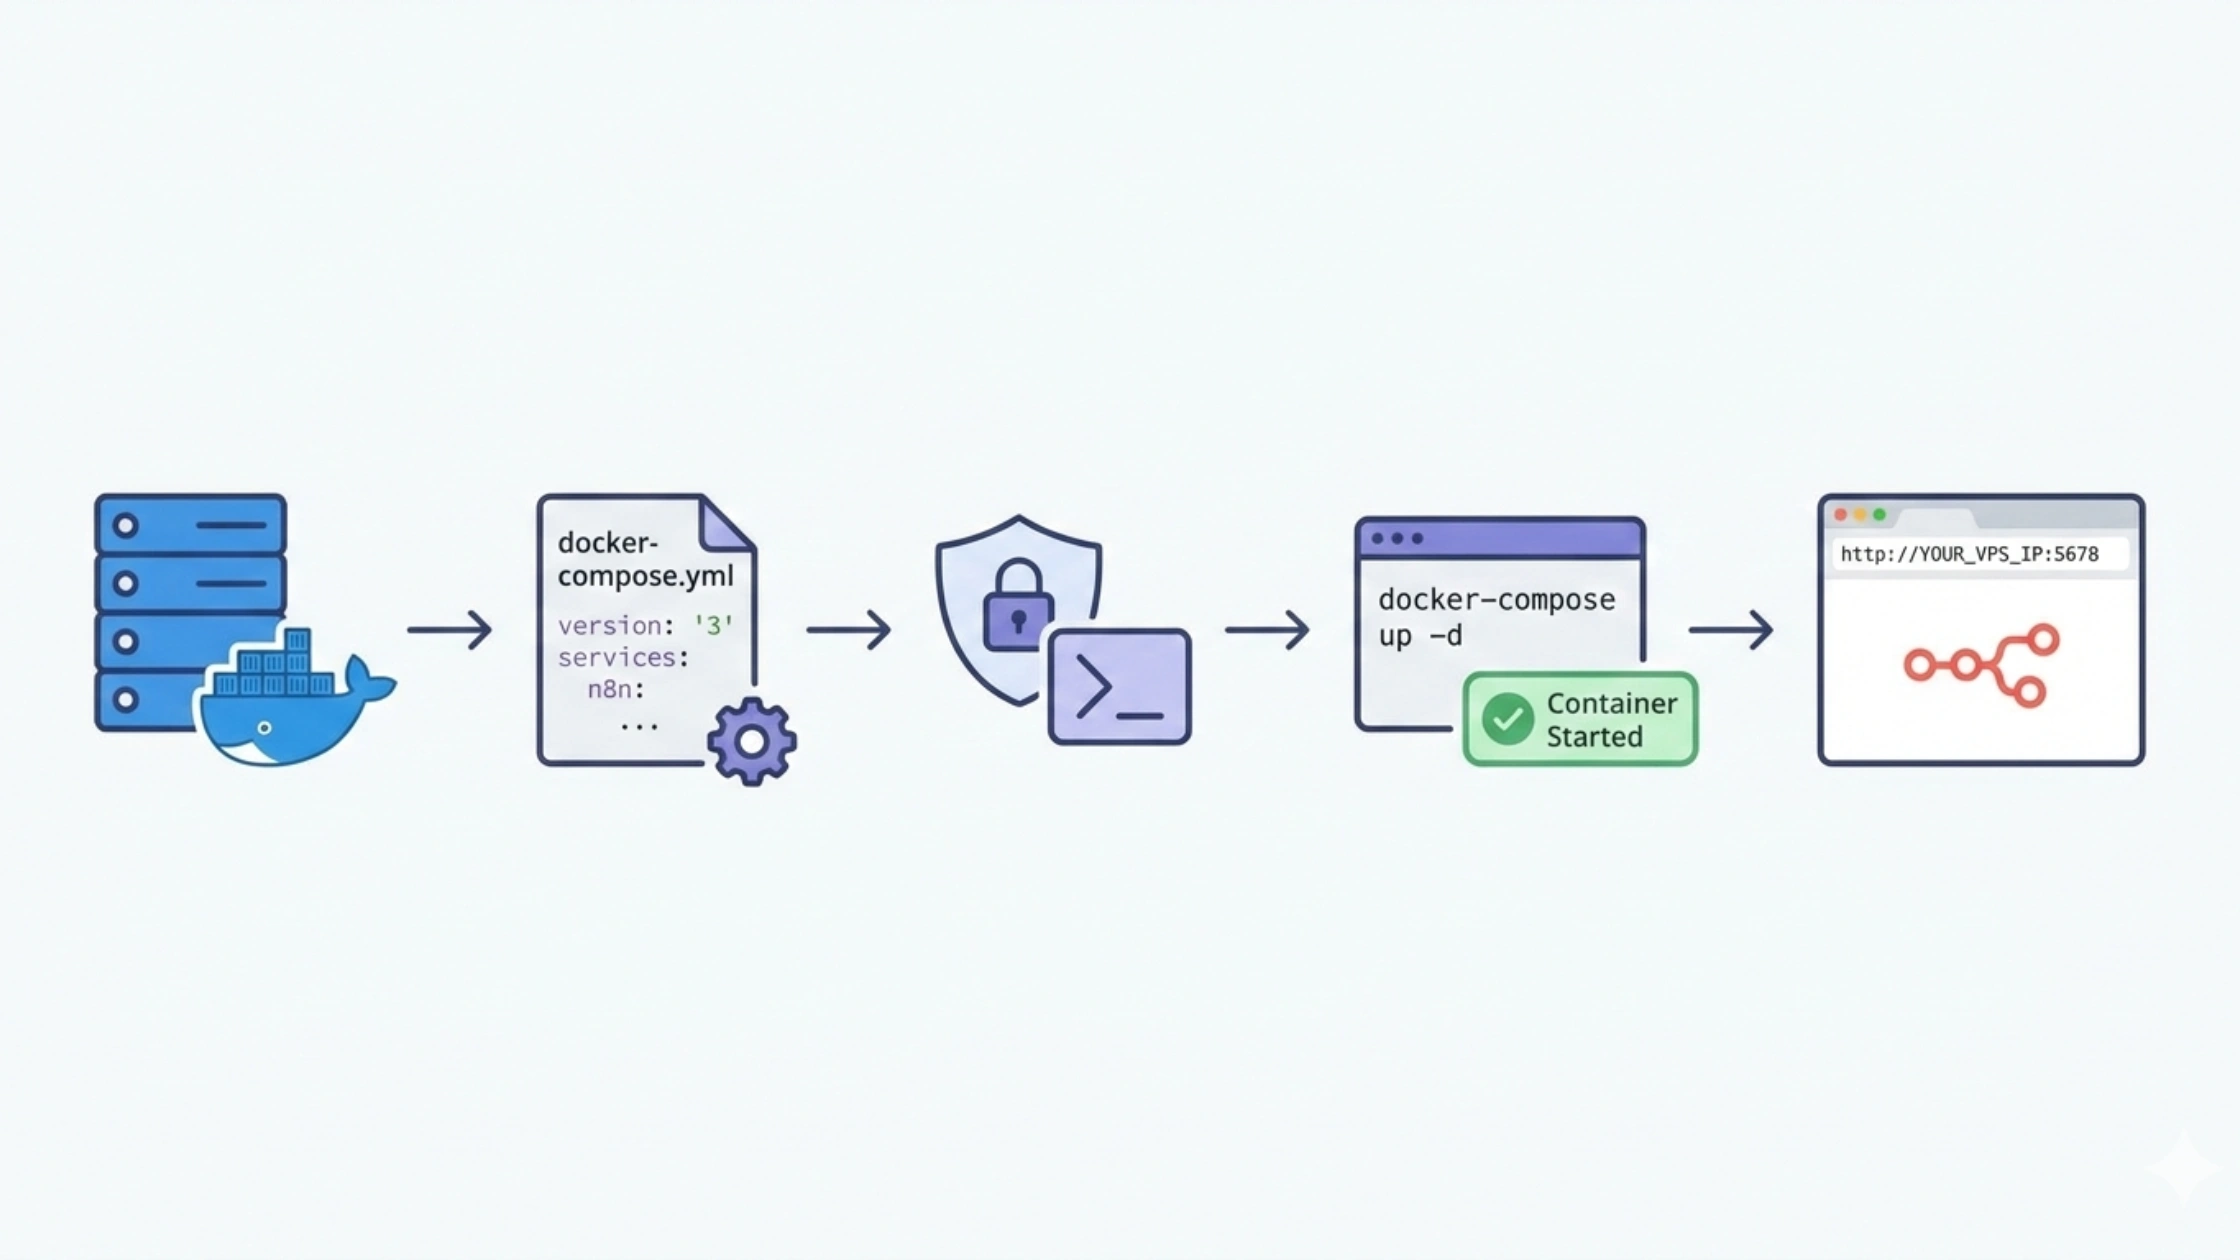

To install the free version of n8n on a VPS, install Docker and Docker Compose, create a docker-compose.yml with n8n image, expose port 5678, configure firewall, start the container, and access n8n via browser. For production, secure it using HTTPS and disable public user registration.
Installing n8n on a VPS allows you to run automation workflows 24/7 with full control over data, costs, and scalability. The most reliable way to deploy n8n workflow automation on a VPS is using Docker and Docker Compose. This setup ensures easy upgrades, persistence of workflows, and production-ready performance.
Best For: Developers, founders, and automation teams who want control without SaaS fees
Not Ideal For: Users who don’t want to manage servers or security
This deployment method is recommended for both testing and scalable production environments.
Why self-host n8n on a VPS?
- Full control of your data and environment (GDPR friendly).
- No monthly SaaS fees for many workflows.
- Easy to integrate with internal services and private networks.
- Scale vertically (VPS -> Dedicated) when you need more CPU/RAM.
- Perfect for developers and teams who prefer infrastructure control.
Prerequisites
Your computer:
- A VPS running Ubuntu 20.04 or 22.04 (4 GB RAM recommended).
- SSH access (PuTTY on Windows; macOS/Linux use Terminal).
- A basic comfort level with the command line.
Server access credentials:
- Main IP address of your VPS web hosting.
- Root username and password.
- SSH access enabled (port 22 open).
Minimum VPS Requirements for n8n
| Use Case | RAM | CPU | Disk |
|---|---|---|---|
| Testing / Learning | 1–2GB | 1 core | 20GB |
| Small Production | 4GB | 2 cores | 40GB |
| Heavy Automation | 8GB+ | 4 cores+ | 80GB+ |
Core Steps:
You already run n8n on your laptop using Docker container ecosystem. Refer the blog of installing n8n locally on PC if you haven’t.
- Connect to your VPS via SSH (PuTTY or Terminal)
- Install Docker and Docker Compose
- Create a docker compose file for n8n
- Expose port 5678 and configure firewall
- Start n8n and access it via browser
Secure it using HTTPS and authentication.
Before You Start – Important Safety Tips
- Never publish your real root password or IP in public blogs (use sample IPs like 192.168.x.x)
- Always change default passwords after setup
- Avoid running production servers without firewall + backups
- Prefer SSH key login over password-based login
This improves security credibility and SEO trust.
Step 1: Connect to Your VPS Using PuTTY
SSH connection establishes remote access to your server.
Enter connection details:
Host Name field: Enter your VPS IP address
Open in browser:
http://:<your-vps-ip>:5678
Port field: Leave as default 22
Connection type: Select SSH (should be default).
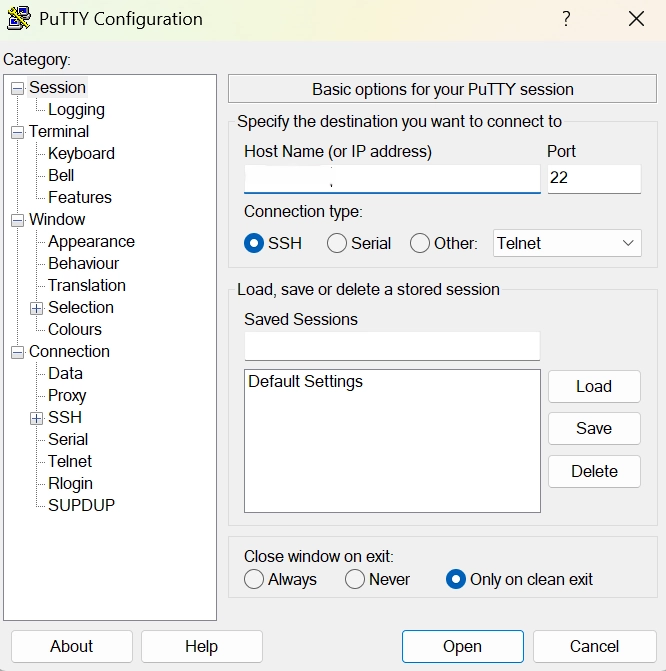
Initiate connection:
Click “Open” button at bottom of PuTTY window.
First connection displays security alert about server’s host key. Click “Yes” accepting and continuing.
Authentication
Login prompt appears:
login as: root
Type root username and press Enter.
Password prompt:
root@x.xx.xxx.xx’s password:
Type password (characters won’t display this is normal security feature):
Press Enter authenticating.
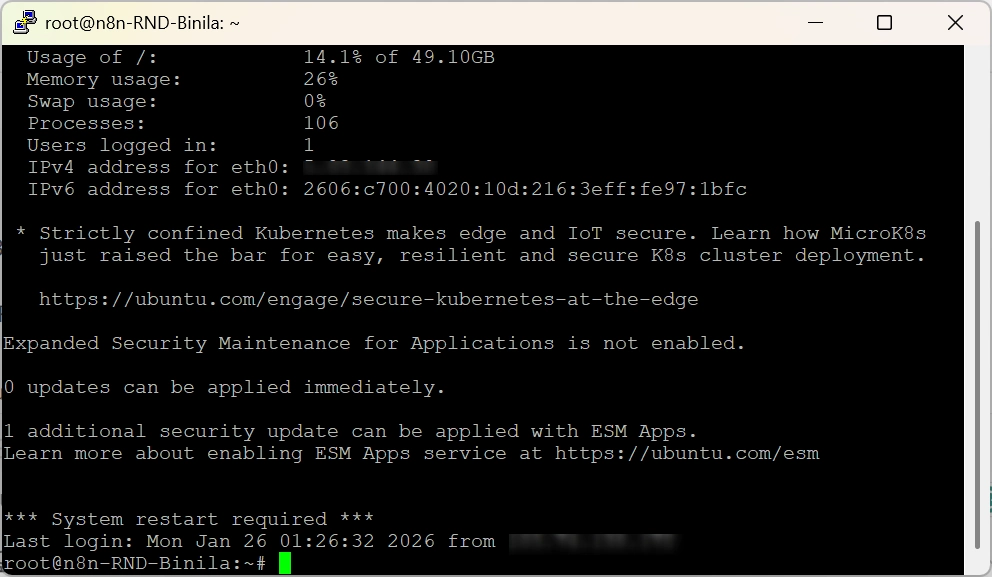
Successful connection:
Terminal displays welcome message and command prompt:
You’re now connected to your VPS with root access.
Step 2: Install Docker on your VPS
Run these commands one by one:
Remove old Docker (if any)
apt remove docker docker-engine docker.io containerd runc -yInstall Docker
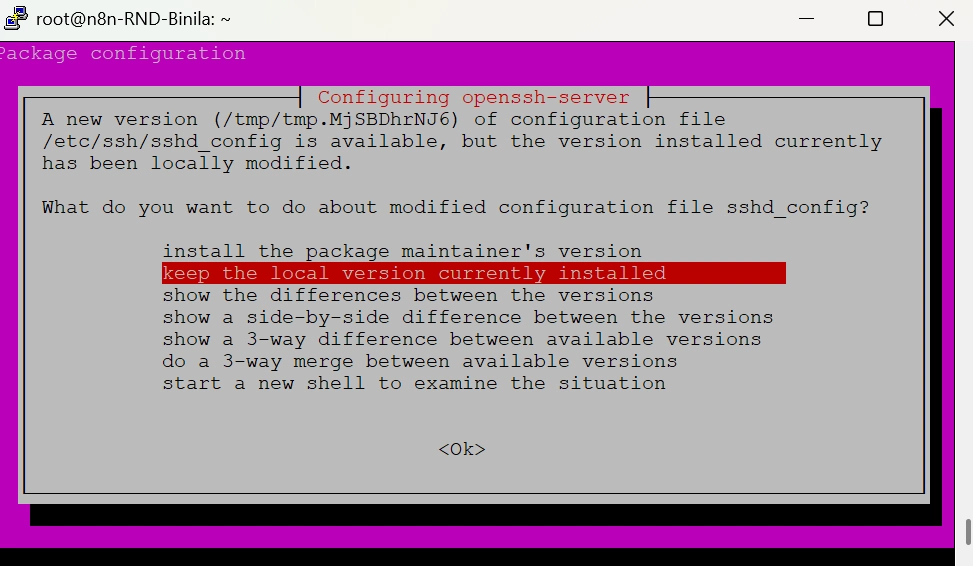
apt install -y docker.ioIf any config screen appears :
- SSH → keep local version
- GRUB → select /dev/sda only
Enable Docker at boot
systemctl enable docker
systemctl start docker
Verify Docker is running
docker --versionYou should see something like:
Docker version xx.xx.x
STEP 3: Install Docker Compose (recommended)
sudo apt install -y docker-composeVerify:
docker-compose --version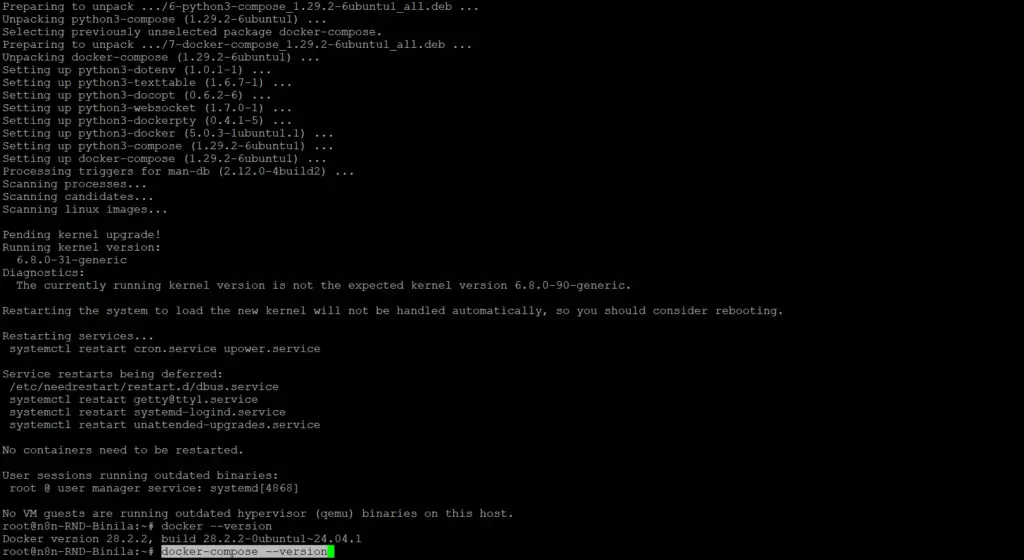
Step 4: Create n8n Folder
mkdir /opt/n8n
cd /opt/n8n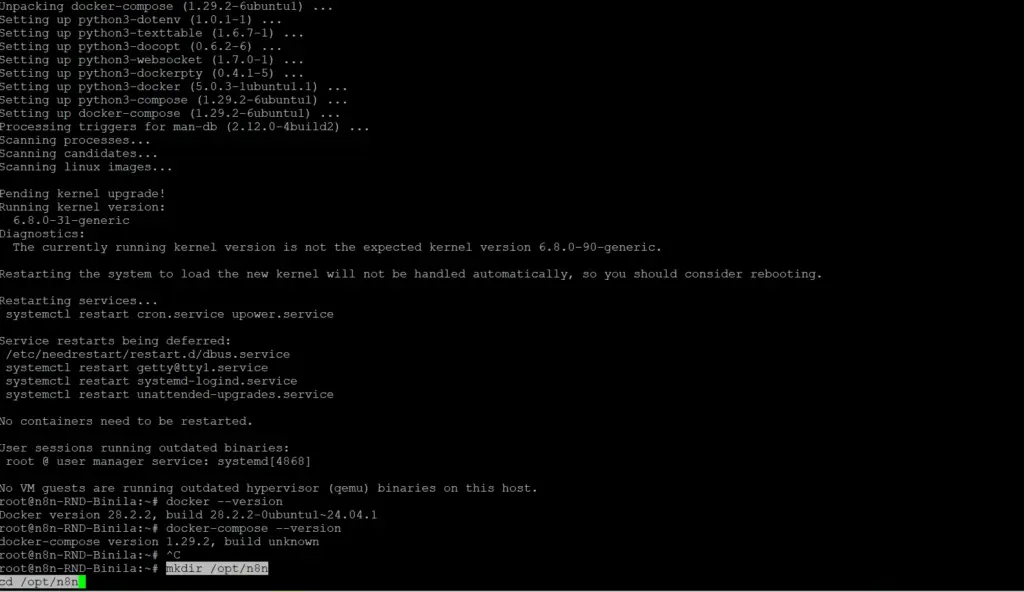
Step 5: Create Docker Compose File for n8n

Open file editor:
nano docker-compose.ymlPaste this inside:
version: "3"

services:
n8n:
image: n8nio/n8n
container_name: n8n
restart: always
ports:
- "5678:5678"
environment:
- N8N_BASIC_AUTH_ACTIVE=true
- N8N_BASIC_AUTH_USER=admin
- N8N_BASIC_AUTH_PASSWORD=StrongPassword123
- N8N_HOST=<YOUR_VPS_IP>
- N8N_PORT=5678
- N8N_PROTOCOL=http
- WEBHOOK_URL=http://<YOUR_VPS_IP>/
volumes:
- n8n_data:/home/node/.n8n

volumes:
n8n_data:
Indentation matters – make sure spaces match. Replace: StrongPassword123 with your own secure password.
Save P -> Press CTRL + X -> Press Y -> Press Enter
Step 6: Start n8n
Confirm docker-compose Exists. Run:
docker-compose --versionIf not installed, install it:
apt install -y docker-compose Then run from inside /opt/n8n:
docker-compose up -d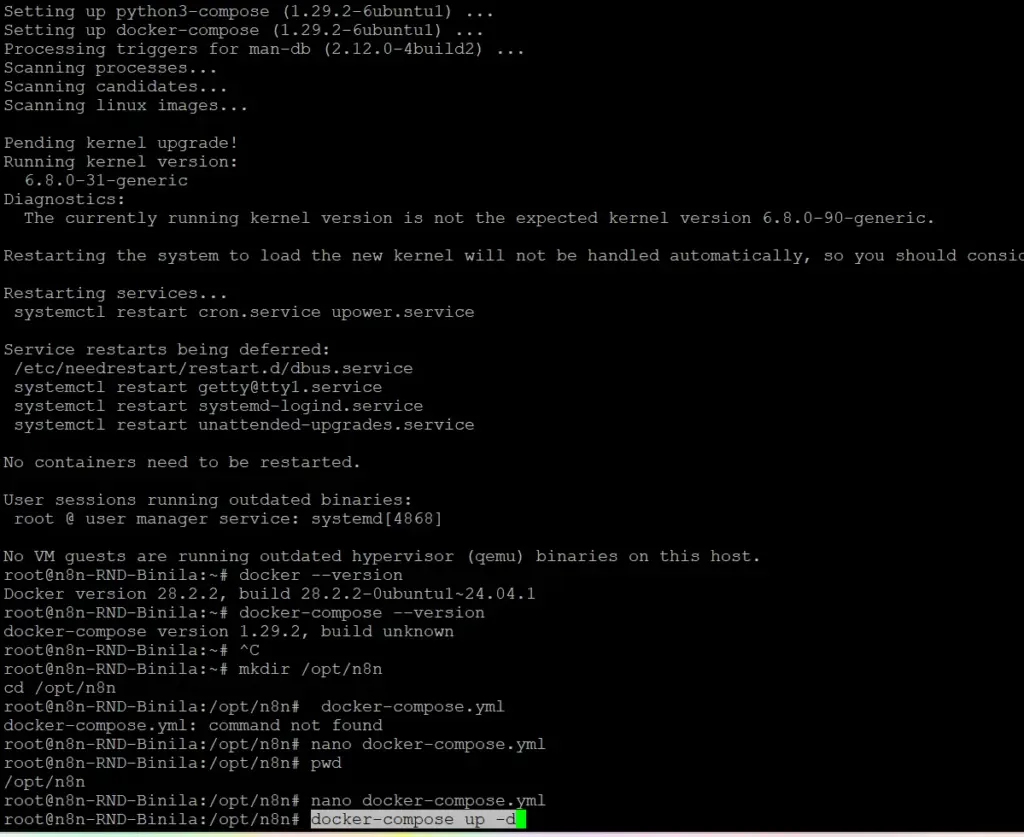
Check if running:
docker ps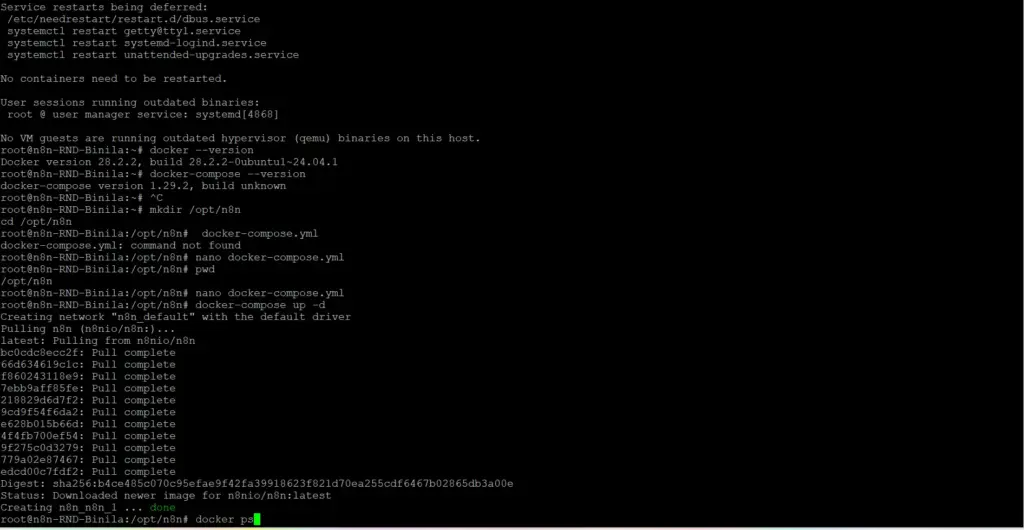
You should see:
n8n n8nio/n8n Up ...You should see n8n container running.
Step 6: Check Firewall (UFW)
Run:
ufw status
If active and 5678 is missing:
Run:
ufw allow 5678
ufw reload
Then:
ufw statusIf ufw is not installed,install UFW Firewall (Recommended)
Run:
apt update
apt install ufw -y
Then enable it safely:
ufw allow ssh
ufw allow 5678
ufw enable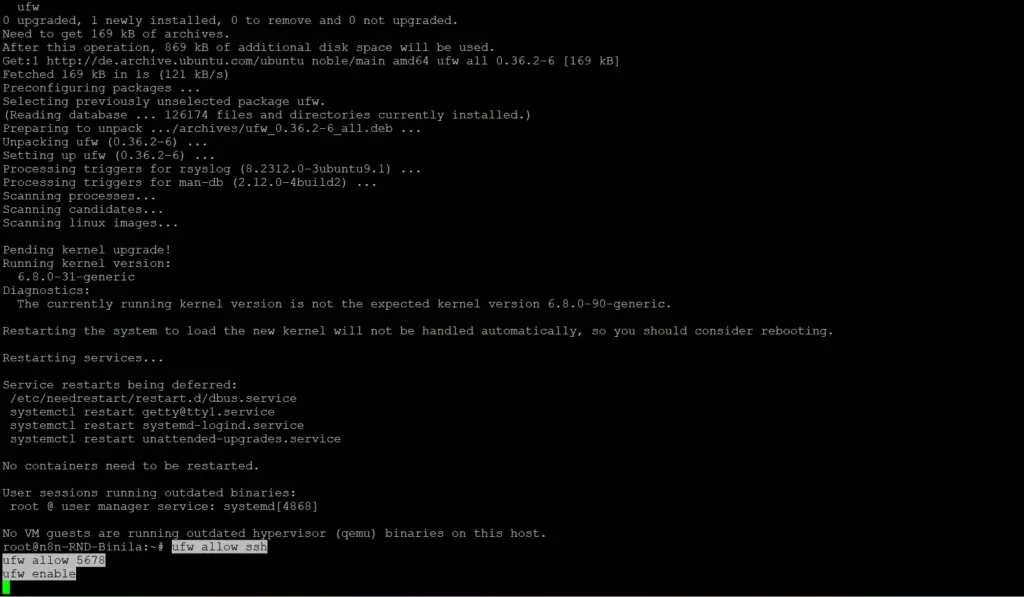
Now check ufw status should be inactive.
ufw statusSTEP 7: Prevent VPS Session Drops (VERY IMPORTANT)
Screen is useful when running foreground commands or debugging, but not mandatory for Docker-based n8n.
Install screen:
apt install screen -y
screen -S n8n
Now even if network drops, session continues.
Detach:
Ctrl + A + DReattach:
screen -r n8nStep 8: Access n8n
Open in browser:
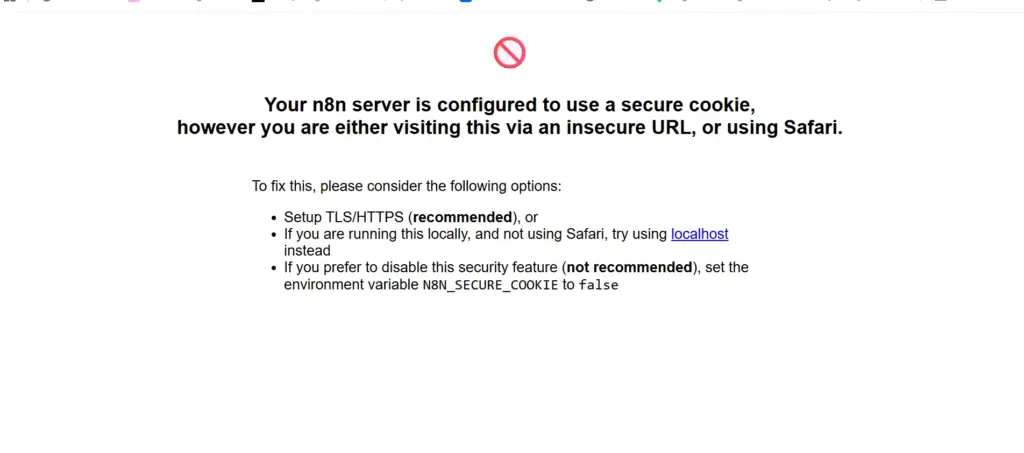
http://<VPS-IP>Now you will get an output screen
n8n allows UI access but blocks authentication over HTTP when secure cookies are enabled.
- Secure cookies are enabled by default
- You access n8n via HTTP + IP address
- HTTPS is not configured yet
So n8n stops the session creation itself, which means:
The login screen will NOT appear
No username/password prompt yet
This is a pre-login security check, not an error.
How to make the login screen appear (choose ONE)
OPTION 1 (Fastest – for testing / blog demo)
Disable secure cookies. Edit your docker-compose.yml:
services:

n8n:

    image: n8nio/n8n

    ports:

      - "5678:5678"

    environment:

      - N8N_SECURE_COOKIE=false
Then run:
docker-compose down
docker-compose up -d
Now open:
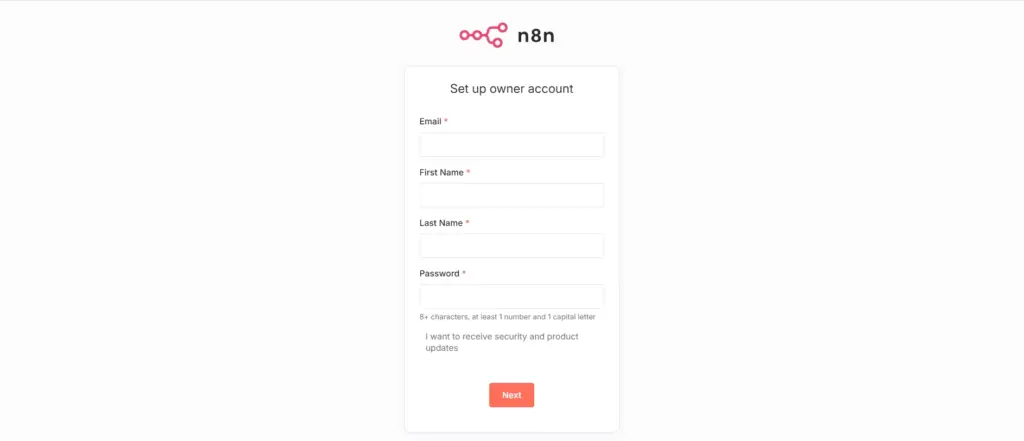
http://<VPS-IP>:5678You will see n8n register dashboard
OPTION 2 (Best for real usage / investors / production)
Set up HTTPS (TLS).Once accessed via domain.n8n will:
- Allow secure cookies
- Show login / signup screen
- Work without warnings
This is the recommended long-term solution. Since this is a fresh n8n installation, n8n requires you to create the Owner account (admin user).
This first user automatically becomes the admin/owner of the n8n instance.
Step 9: What to do now
On the n8n browser screen:
1️. Click “Register” or “Create Owner Account”
- Email → Your real email (used for recovery + notifications)
- First Name
- Last Name
- Password → Use a strong password
Then click Create Account.
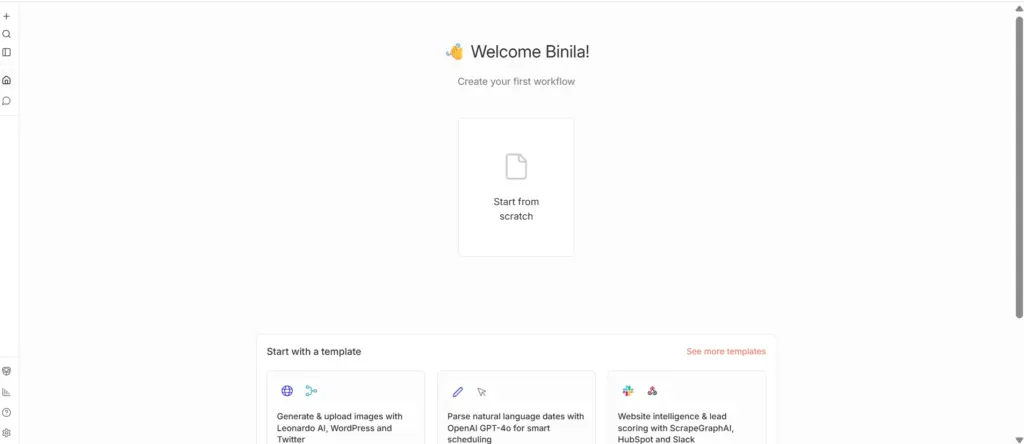
2️. You’ll be logged into n8n automatically
Important Security Tip (since you’re on VPS)
After creating the first user, do this: Disable public registration. Go to: Settings → Users → Disable user signup. This prevents strangers from creating accounts on your n8n. You’re now officially live.
Troubleshooting Common n8n VPS Installation Issues
Here are the most common problems beginners face while installing n8n on a VPS and how to fix them.
1. This site can’t be reached or Connection Refused
Causes:
- Container not running
- Port blocked by firewall
- Provider security group blocking port
- Docker not exposing port
Fix: Check container:
docker psCheck port:
ss -tulnp | grep 5678Allow port in firewall:
ufw allow 5678
ufw reload
Also check your VPS provider firewall panel and allow TCP 5678.
2. Docker Compose: command not found
Reason:
Your system uses old docker-compose version.
Fix:
docker-compose up -dNot:
docker compose up -dOr install Docker Compose v2 if needed.
3. curl localhost:5678 fails but container is running
Causes:
- Docker crash loop
- Port mismatch
- n8n not booting fully
Fix:
Check logs:
docker logs n8nIf error mentions:
- missing config
- permission denied
- invalid env
Correct docker-compose.yml and restart.
4. docker ps shows no containers
Cause: n8n was stopped or deleted
Fix: Go to your folder:
cd /opt/n8n
docker-compose up -d
When to choose VPS vs Dedicated vs Managed
- VPS: Ideal for small to medium workflows, cost effective, quick to provision.
- Dedicated server: Choose when you need massive CPU, huge disk/IO, or strict compliance.
- Managed hosting: If you don’t want to handle updates, backups, and security hire experts or pick a managed provider.
If you don’t know how to configure or secure your server, hire Ucartz expert (we offer setup & migration services). They’ll set up Postgres, SSL, monitoring, backups, and compliance.
Conclusion
You have successfully installed the free, self-hosted version of n8n on your VPS using Docker transforming your automation from a local experiment into a real production system.
By completing this setup, you now have:
- A 24/7 automation engine running independently of your laptop
- Full ownership of your data and workflows
- A scalable foundation that can grow from VPS to dedicated hosting servers
- The freedom to integrate APIs, databases, and internal tools securely
If managing servers, SSL, backups, or databases feels overwhelming, you can always rely on Ucartz experts to deploy n8n securely.Your automation journey has officially moved from beginner to builder.
FAQ
1. How much RAM does n8n need on a VPS?
For hobby use, 1–2GB works. For production with many workflows, start at 4GB and scale up.
2. Can beginners install n8n on a VPS?
Yes. With Docker-based deployment and a VPS with at least 4GB RAM, even beginners can install n8n successfully by following a step-by-step guide.
3. Can I run n8n on Windows?
You can run n8n locally on Windows (Docker Desktop) but for production use a Linux VPS.
4. Is VPS enough for n8n or do I need a dedicated server?
A VPS is sufficient for most use cases. Dedicated servers are only required when handling very high concurrency, massive workflows, or strict compliance workloads.
5. How to upgrade n8n safely?
Backup data, then docker-compose pull && docker-compose up -d. Test on staging first.