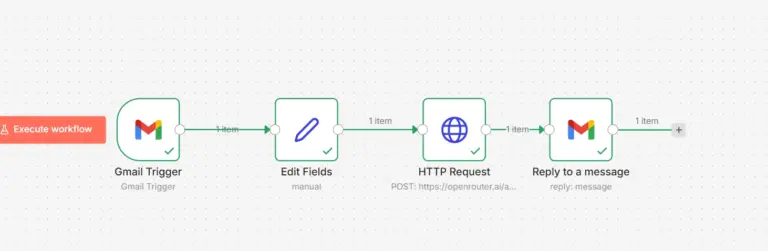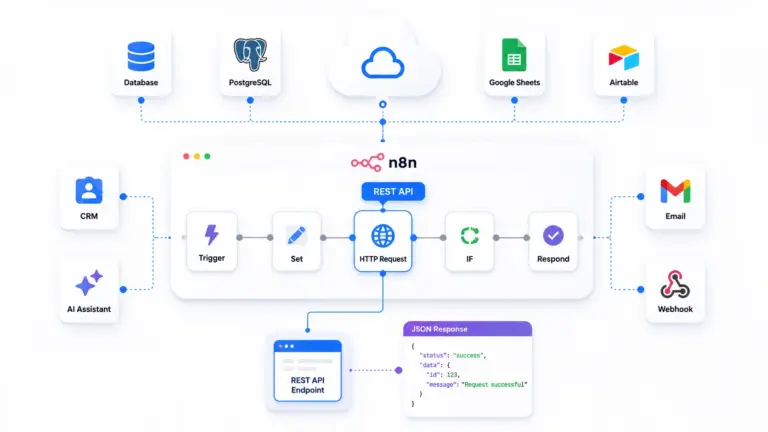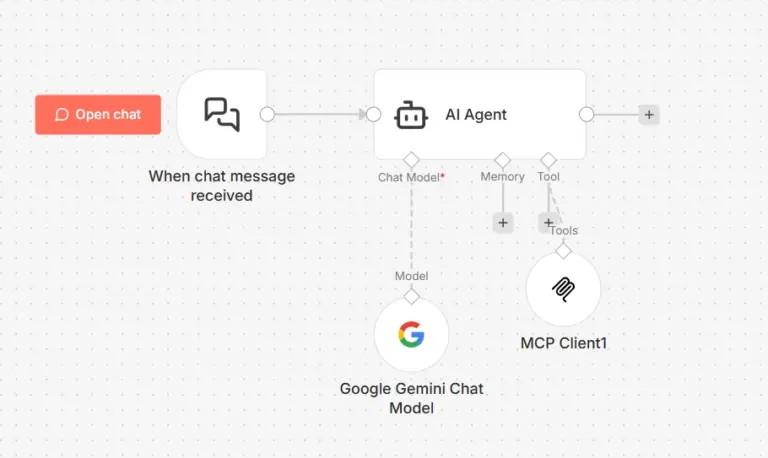

n8n is exploding in popularity as one of the most powerful automation and AI agent platforms available today. You can run it locally on your PC completely free perfect for testing, learning, and building workflows without any cloud costs.
In this guide, I’ll walk you through installing n8n automation on your local machine in just 5 minutes using Docker Desktop.
What You’ll Need
- Windows, Mac, or Linux PC (any modern system works)
- Docker Desktop (we’ll install this together)
- Internet connection (for downloads)
No coding experience required. Let’s get started.
Step 1: Download Docker Desktop
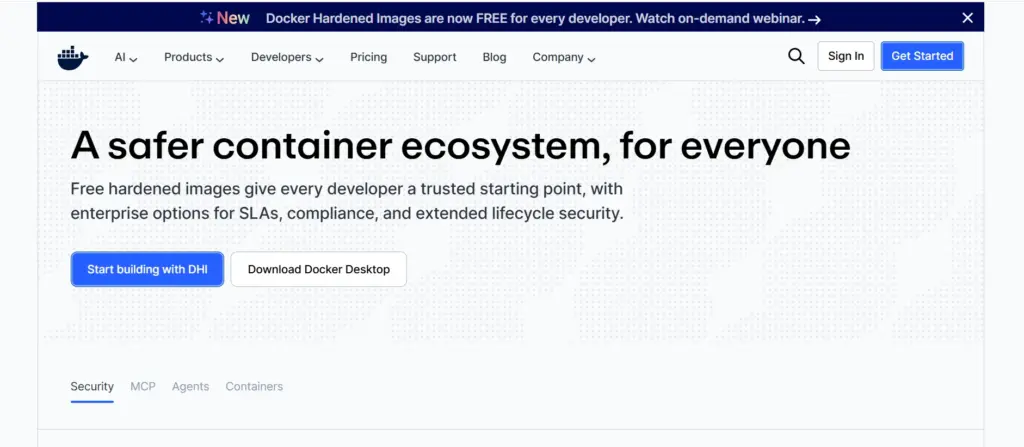
First, head to the official Docker website.
What is Docker?
Think of Docker as a container that lets you run applications like n8n on your PC without interfering with your system. It packages everything n8n needs to run smoothly all in one isolated environment.
Download Instructions:
- Click “Download Docker Desktop“
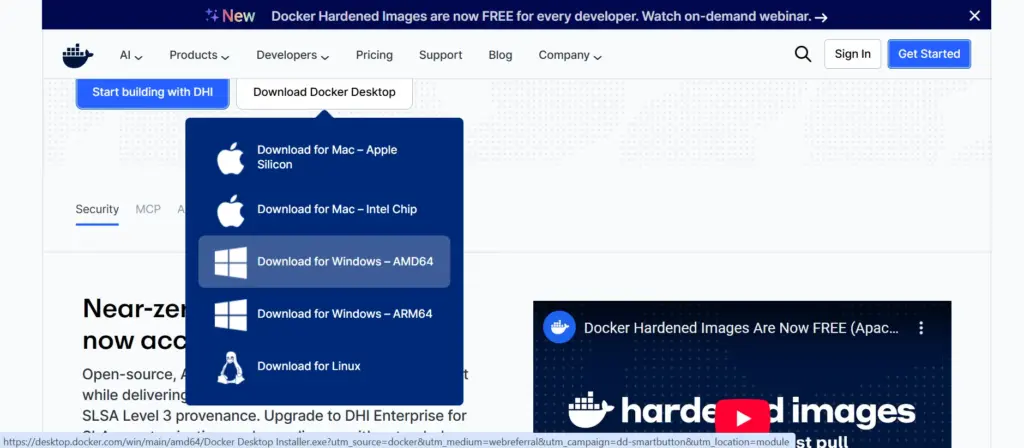
- Choose the version that matches your operating system:
- Windows: Docker Desktop for Windows
- Mac: Docker Desktop for Mac (Intel or Apple Silicon)
- Linux: Follow the Linux-specific instructions
The file is approximately 580 MB, so give it a minute to download.
Step 2: Install Docker Desktop
Once the download completes:
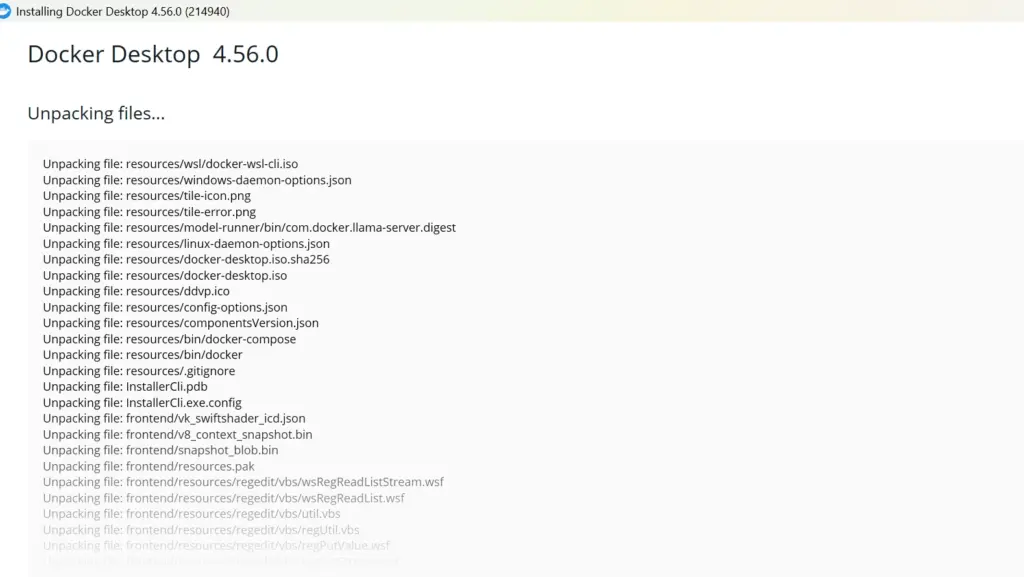
- Double-click the Docker installer file
- Click “OK” to begin installation
- Wait for the installation to complete (usually takes 30-60 seconds)
- Click “Close” when finished
Important: After installation, you may need to restart your computer for Docker to work properly. If prompted, go ahead and restart.
Step 3: Launch Docker Desktop
After restarting (if required), you’ll see a Docker Desktop shortcut on your desktop or in your applications folder.
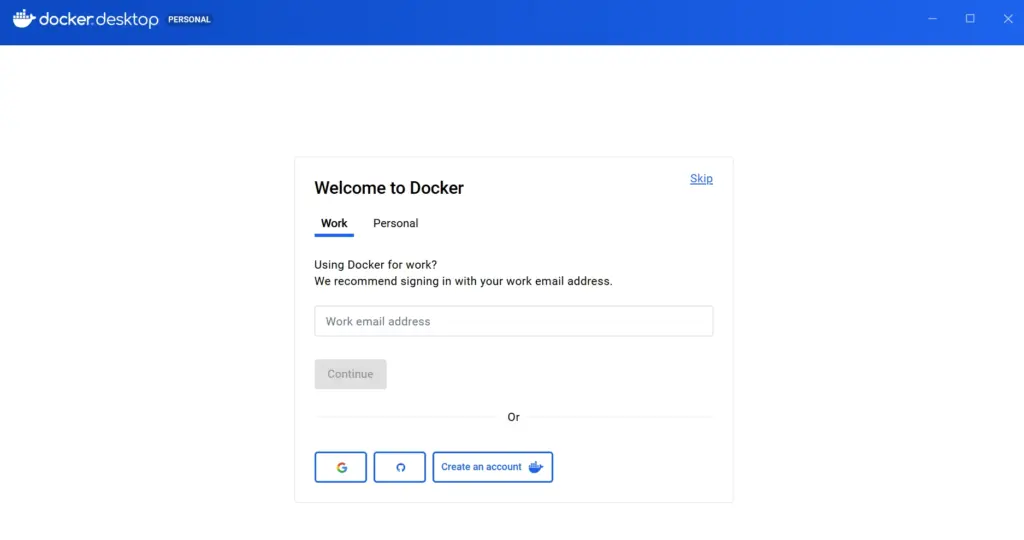
- Open Docker Desktop
- Accept the Docker Desktop Service Agreement (click “Accept”)
- Select “Use recommended settings” and click “Finish”
- Skip the sign-in prompt (account creation is optional you don’t need it for local use)
- Skip the welcome survey if it appears
You’re now inside Docker Desktop and ready to install n8n.
Step 4: Pull the n8n Image
Docker works by downloading “images” pre-packaged application files that you can then run as “containers.”
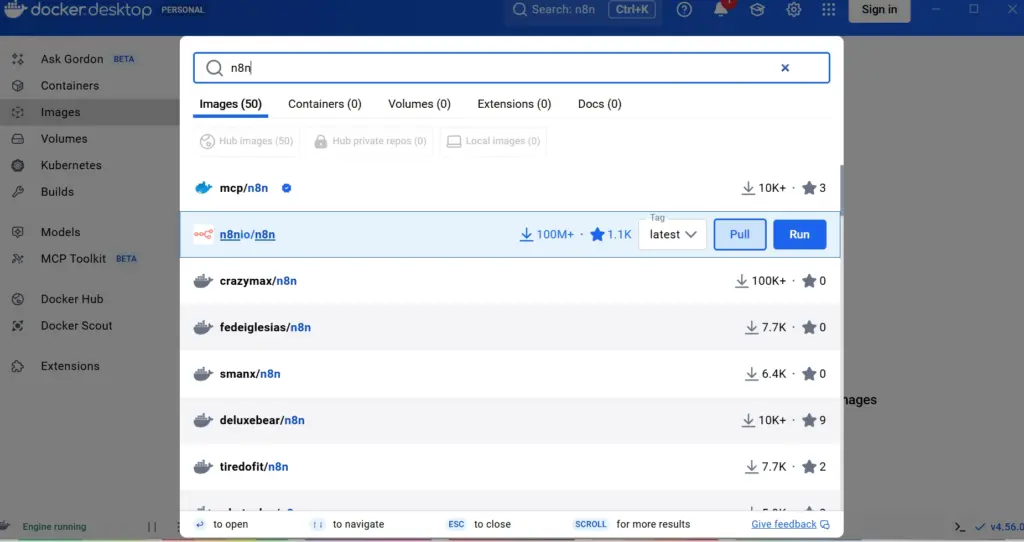
- Click on the “Images” tab in Docker Desktop
- In the search bar, type: n8n
- You’ll see n8nio/n8n (with over 100 million downloads)
- Click “Pull” to download the n8n image
Wait for the download to complete. Once done, you’ll see the n8n image listed in your Images tab.
Step 5: Configure and Run n8n
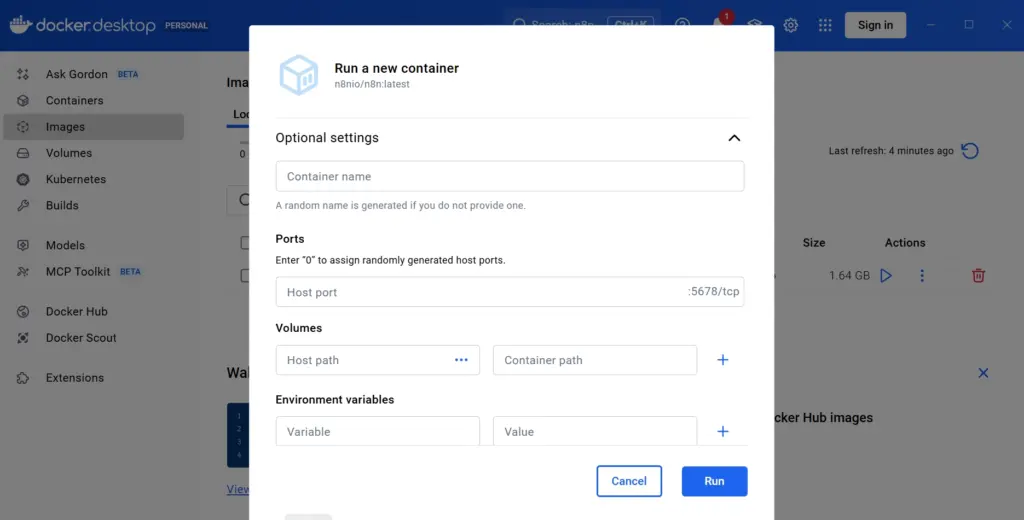
Now we’ll create a container from the n8n image and configure it properly.
- Click the “Run” icon next to the n8n image
- Click the drop-down arrow to expand optional settings

Configuration Settings:
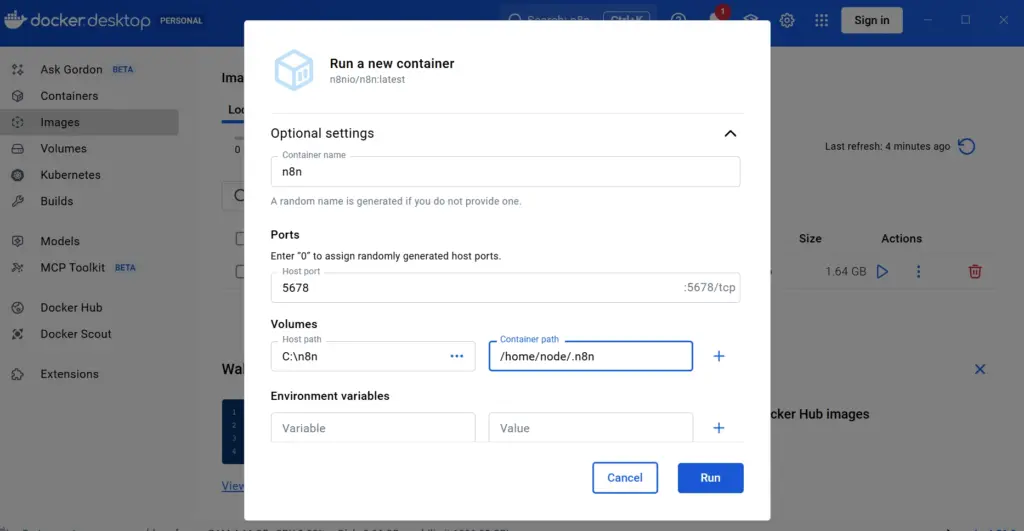
Container Name:
Enter: n8n
Ports:
- Host Port:
5678(this is the default) - Container Port:
5678
Note: If n8n doesn’t open properly later, try a different port like 5688 or 5680.
Volumes (File Storage):
- Click the three-dot icon next to “Host path”
- Create a new folder on your PC (e.g.,
C:\n8nor~/n8n) - Select that folder
- For Container path, enter exactly:
/home/node/.n8n
This ensures all your n8n workflows, credentials, and data are saved locally.
Launch n8n:
Click “Run” to start the container.
Docker will now install and launch n8n. Wait 10-15 seconds.

Step 6: Access n8n in Your Browser
Once installation completes, you’ll see a message in Docker:
Editor is now accessible via localhost:5678Click the localhost:5678 link, or manually open your browser and go to:
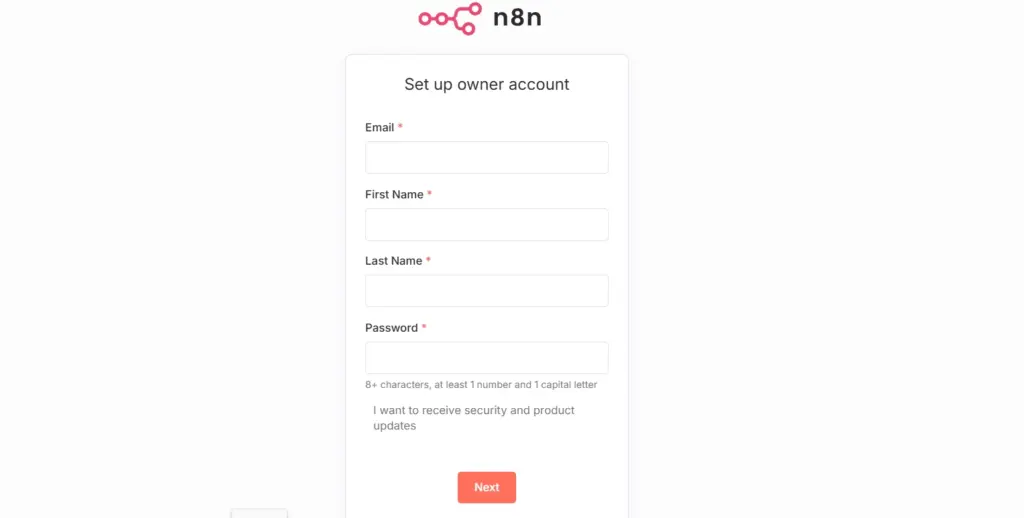
http://localhost:5678You’ll see the n8n setup screen. Success!
Step 7: Create Your Owner Account
To use n8n, you need to set up an account (stored locally not sent to any server):
- Email Address: Enter your email
- First Name & Last Name: Enter your details
- Password: Create a strong password
- Click “Next”
n8n will ask a few optional onboarding questions. Feel free to skip them by clicking “Get Started”.
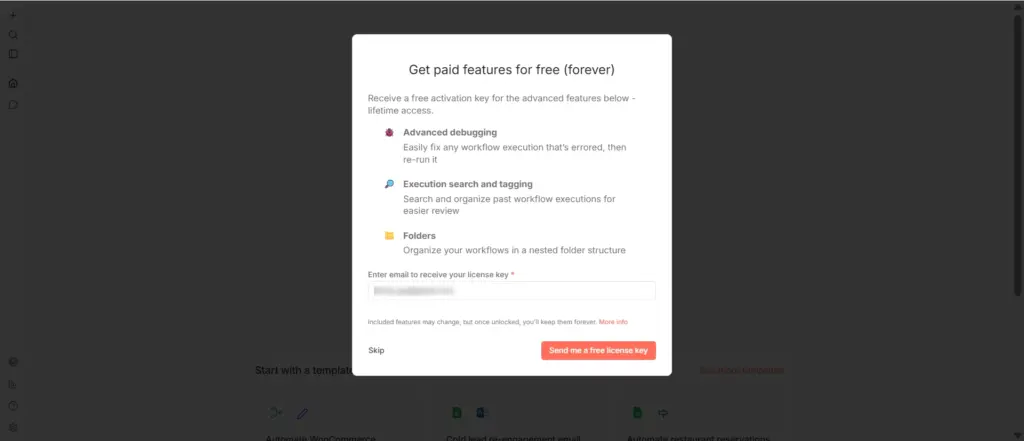
Step 8: Activate Free Pro Features (Optional)
n8n offers a free license key that unlocks additional features for local installations:
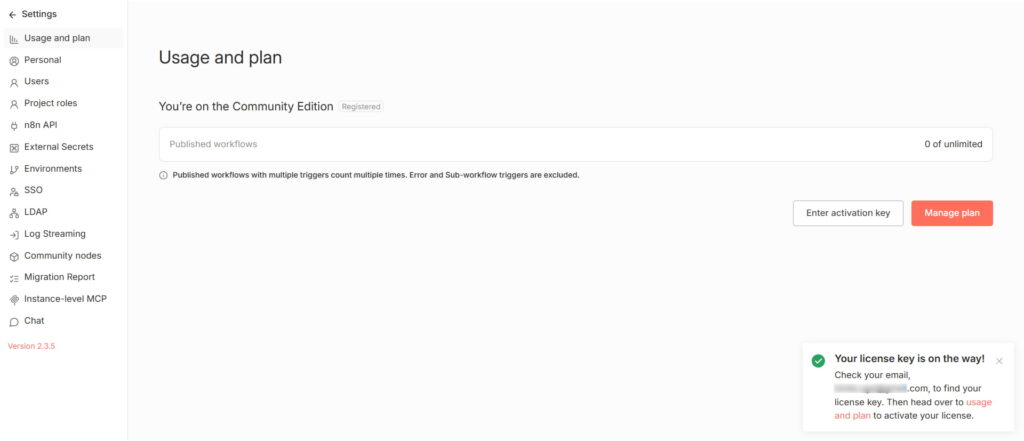
- Click “Usage and Plan” in the n8n dashboard
- Enter your email address and click “Send me a free license key”
- Check your email for the activation key
- Copy the key and paste it into the activation field
- Click “Activate”
Done! You now have access to pro features at no cost.
Step 9: Start Building Workflows
You’re all set! The n8n dashboard is now accessible at localhost:5678.
From here, you can:
- Create automation workflows
- Connect to 400+ apps and services
- Build AI agents with GPT, Claude, and other LLMs
- Test integrations locally before deploying
Troubleshooting Errors
“This Site Can’t Be Reached” Error
If you close Docker or restart your PC, n8n will stop running. Here’s how to restart it:
- Open Docker Desktop
- Go to the “Containers” tab
- Find your n8n container
- Click the “Start” icon (play button)
- Wait 5-10 seconds, then refresh
localhost:5678in your browser
Your dashboard should now be accessible again.
WSL needs Updating
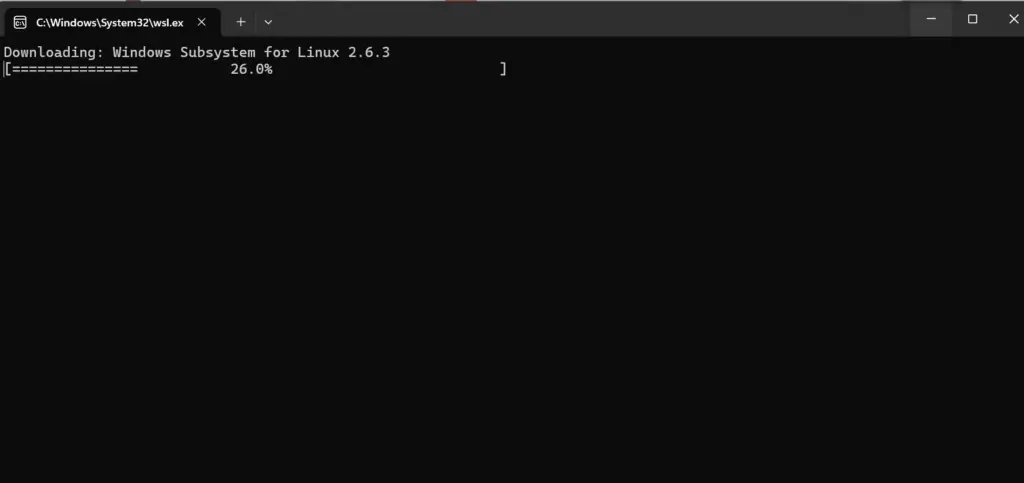
This error occurs when your version of Windows Subsystem for Linux is too old.Run this command in cmd and restart the local computer.
wsl --update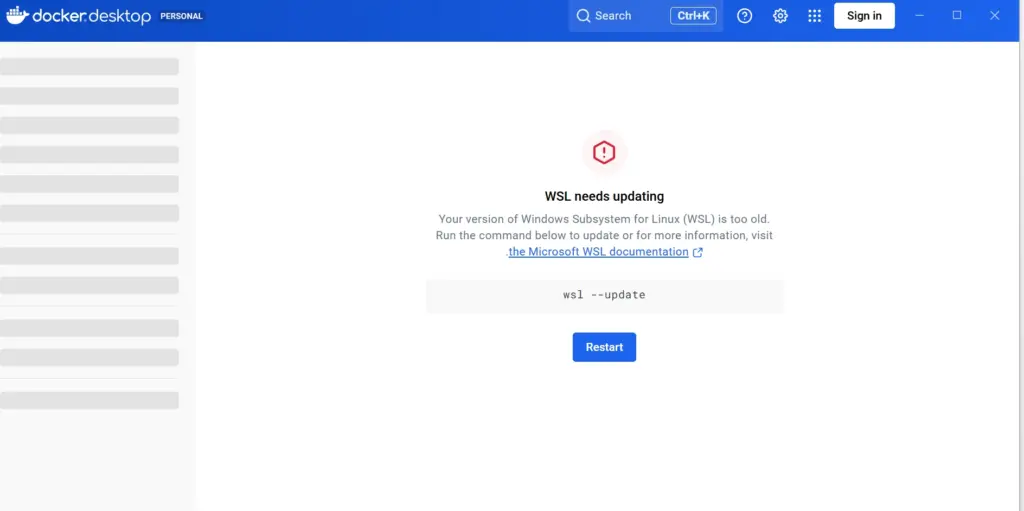
Important Limitations of Running n8n Locally
Running n8n on your local machine is perfect for:
- Learning and experimentation
- Building and testing workflows
- Development and prototyping
However, local installations have limitations:
- Uptime and Availability: Your automations will stop running the moment your computer sleeps, shuts down, or loses its internet connection. This makes it impossible to guarantee that time-sensitive tasks or those scheduled for outside business hours will execute reliably.
- Webhook Accessibility: Since local machines do not have a public IP address, external services (like Stripe or GitHub) cannot easily send triggers to your n8n workflows. While tunneling tools (like ngrok or Tunnelmole) can create temporary public URLs, they are often unstable, require constant maintenance, and are not recommended for production environments.
- Hardware and Performance Bottlenecks: Personal computers are not optimized for the heavy load of complex data processing or AI automations. High volumes of concurrent executions can quickly lead to memory exhaustion, timeouts, and a completely unresponsive system.
- Data Persistence and Security Risks: Local setups are more fragile than server environments. If Docker containers are not configured with persistent volumes, critical data such as workflow credentials or encryption keys can be permanently lost during a restart. Additionally, personal computers often run numerous background processes and browser extensions that can interfere with the n8n environment and present security vulnerabilities.
- Lack of Team Collaboration: Local n8n instances are essentially isolated silos. They do not easily allow multiple users to connect, collaborate on projects, or share credentials, making them impractical for scaling beyond individual projects.
- Maintenance Overhead: Managing a local setup often becomes a “maintenance trap.” Operating system updates, Docker conflicts, and network configuration changes can frequently break your local installation, forcing you to spend time troubleshooting infrastructure instead of building value.
When to Move to VPS Hosting
If you’re planning to use n8n for real automation or production work, consider hosting it on a VPS hosting .
- For Production and Real Automation: While local hosting is excellent for testing and learning, you should move to a cloud server if you plan to use n8n for professional automation or production-level tasks.
- 24/7 Availability: A local setup only runs when your computer is on and connected to the internet; a VPS ensures your workflows run 24/7 without interruptions.
- Preventing Interruptions: Moving to the cloud avoids the risk of automations failing due to your local system being powered off, updated, or losing connection.
But for now, local installation is the best way to get started for free.
Quick Reference: Essential Commands
Start n8n:
Open Docker Desktop → Containers → Click "Start" on n8n containerStop n8n:
Open Docker Desktop → Containers → Click "Stop" on n8n containerAccess n8n:
http://localhost:5678Change Port (if 5678 doesn’t work):
Delete current container → Run image again with port 5688 or 5680What’s Next?
Now that you have n8n running locally, here’s what you can explore:
- Build your first workflow (try connecting Google Sheets to Gmail)
- Explore AI integrations (connect ChatGPT, Claude, or Gemini)
- Set up webhooks (trigger workflows from external apps)
- Learn about nodes (the building blocks of n8n automations)
Check out the official n8n documentation for tutorials and examples.
Final Thoughts
Installing n8n locally is the perfect way to dive into automation and AI workflows without spending a dime on hosting. You get full access to one of the most powerful automation platforms available right on your PC.
Whether you’re a solo founder validating product ideas, a developer learning automation, or an operations manager exploring workflow optimization, local n8n gives you a risk-free sandbox to experiment.
Once you’re ready to deploy real automations that run 24/7, you can always migrate to cloud hosting. But for now, enjoy the freedom of learning and building locally.
Fire up Docker, launch n8n, and start building.
Happy automating!