This guide will show you how to install and configure the Plex Media Server on CentOS 8.
Before we proceed and see with CentOS 8 how to install and configure the Plex Media Server. Please have a check with Installation of Plex Media Server on Ubuntu 18.04 / Ubuntu 16.04 & Linux Mint 19.
Plex is a global streaming media service and a client-server media player platform, made by Plex, Inc. The Plex Media Server organizes video, audio, and photos from users' collections and online services and streams them to the players.
Prerequisites:
Any server running CentOS 8.
Plex Media Server Installation
We'll be applying Plex's official repository instead of downloading the RPM package from their site as it makes upgrading the package very simple.
Step 1
Add the official Plex repository create a new file named plex.repo in /etc/yum.repos.d/ directory with following content:
[PlexRepo]
name=PlexRepo
baseurl=https://downloads.plex.tv/repo/rpm/$basearch/
enabled=1
gpgkey=https://downloads.plex.tv/plex-keys/PlexSign.key
gpgcheck=1
Step 2
Install Plex Media Server with:
sudo yum install plexmediaserver -y
Start and enable the plexmediaserver service with:
sudo systemctl start plexmediaserver.service
sudo systemctl enable plexmediaserver.service
Step 3
Check if the service is running correctly with:
sudo systemctl status plexmediaserver.service
The output of the above command should look like this:
plexmediaserver.service - Plex Media Server
   Loaded: loaded (/usr/lib/systemd/system/plexmediaserver.service; enabled; vendor preset: disabled)
   Active: active (running) since Thu 2021-06-07 16:01:03 IST; 32mins ago
Configure Plex Media Server
After successfully installing Plex Media Server on your server, we can proceed further to the configuration of Plex Media Server.
To get the Plex Media Server setup page, we need to have access to the localhost of our server such that when we open http://127.0.0.1:32400/web it should open from the server instead of our localhost.
Step 1 - SSH Tunnel
To access the server's localhost on our localhost, we need to set up SSH tunnelling by running one simple command.
If you're on Windows, run it on CMD or if you're on Linux, then use your bash shell.
ssh -L 127.0.0.1:32400:127.0.0.1:32400 root@<10.0.0.1>
Now when you try to open http://127.0.0.1:32400/web on your web browser, it should give some output.
Note: Ensure you keep the terminal open in the background. Since closing the CMD/Bash instance, the SSH tunnelling will be gone.
Step 2 - Access GUI for Configuration
After successfully connecting to the SSH Tunnel, you are all set to configure everything else via GUI.
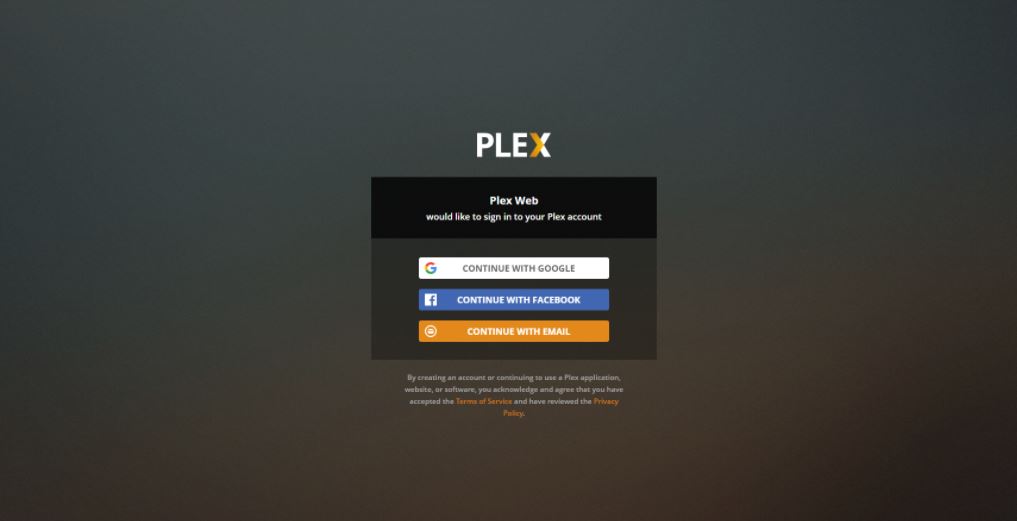
To access GUI, open http://127.0.0.1:32400/web on your web browser. The first prompt will ask you to log in.
Login with your existing account or via Google, or sign up via email. After you log in, it will show you the "How Plex Works" page. Click on the "Got it!" button, and then it shows you a screen asking friendly name (change it whatever you want to call it).

For the remaining two tabs, just hit "Next" because those can be configured later on.
To access Plex Media Server over the Internet:
Now that you've completed the setup prompt, You can open the Plex Media Server page by opening http://<10.0.0.1>/web.
On the left sidebar, You will see an option "More" click on it. You'll now be able to find your Plex Media Server's friendly name on the top. Just click on it.
How to add your libraries?
To create a directory on your server or do the following on your existing media files:
sudo mkdir -p /plex_media/movies
Plex Media Server needs ownership of your files to access them from its user (plex) on your server:
sudo chown -R plex: /plex_media/movies
Note: You do not have to use /plex_media to add a library. You can use any folder you like to store your media files.
Steps required to set up Libraries on Plex Media:
Now come back to our web browser, click on "Manage Libraries" it should open a new page:
Later click on "Add Library", select the type of library you want to create & click next.
Now add your directory & Go Back to home, where you'll be able to find the added media files.


