You should log in, explore the dashboard without changing settings, then follow the sequence: profile, branding, media upload, playlists, AutoDJ, and finally live broadcasting testing.
If you are new to AzuraCast, the first question is simple. What should you actually do first?
You do not need to change every setting on day one. Start by understanding your station, adding your content, setting up automated playback, and testing your stream. This guide walks you through the first steps after getting access to an AzuraCast radio station.
What Is AzuraCast?
AzuraCast is a web based platform for managing online radio stations. It brings many of the tools you need to operate a station into one interface.
Depending on your setup and permissions, you can use it to manage your radio station profile, music and other media, playlists, AutoDJ, live broadcasting, DJs and streamers, podcasts, listener information, reports, and public station pages.
The important part for a new station owner is understanding how these pieces fit together.
A typical workflow looks like this: Media to Playlists to AutoDJ to Radio Stream to Listeners.
For live broadcasting, the workflow changes slightly: DJ to Broadcasting Software to AzuraCast to Radio Stream to Listeners.
Once you understand these two paths, the dashboard becomes much easier to navigate.
Step 1: Log In and Look Around Before Changing Anything
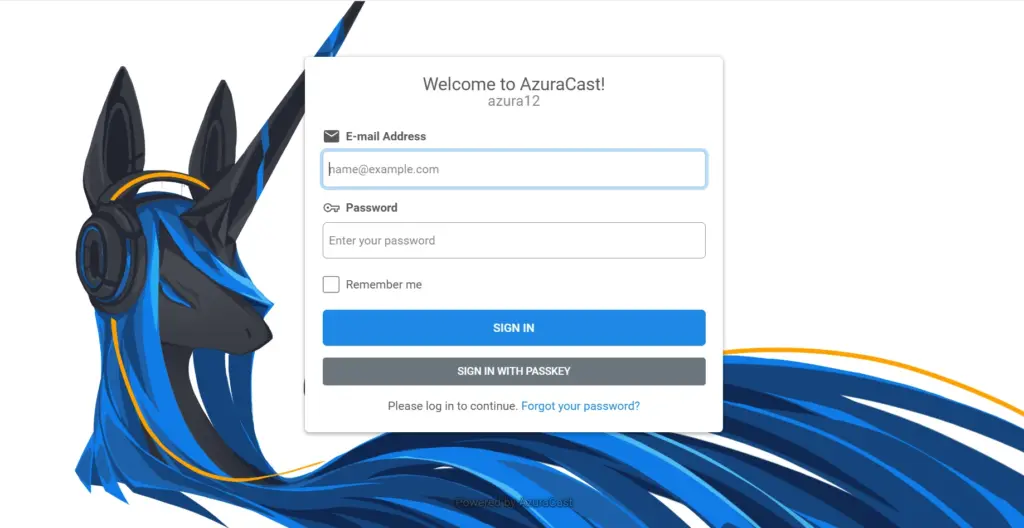
After receiving your AzuraCast credentials, log in to your account. Do not immediately start uploading hundreds of songs. Spend a few minutes exploring the dashboard.
Depending on your account permissions, you may see areas such as Profile, Public Page, Media, Playlists, Podcasts, Web Hooks, Reports, Broadcasting, and Logs.
Each of these sections has a specific purpose.
Profile holds your station’s basic information and configuration. Public Page is the listener facing page for your station. Media is your uploaded audio files. Playlists are the collections and rotation rules that determine what AutoDJ plays. Podcasts are tools for managing podcast content associated with your station. Web Hooks are options for connecting station events with external systems. Reports show listener and station activity information. Broadcasting covers tools and information related to live broadcasting. Logs give you useful information when troubleshooting problems.
You do not need to master all of these immediately. Start with the parts required to get your first audio stream running.
Step 2: Check Your Station Profile
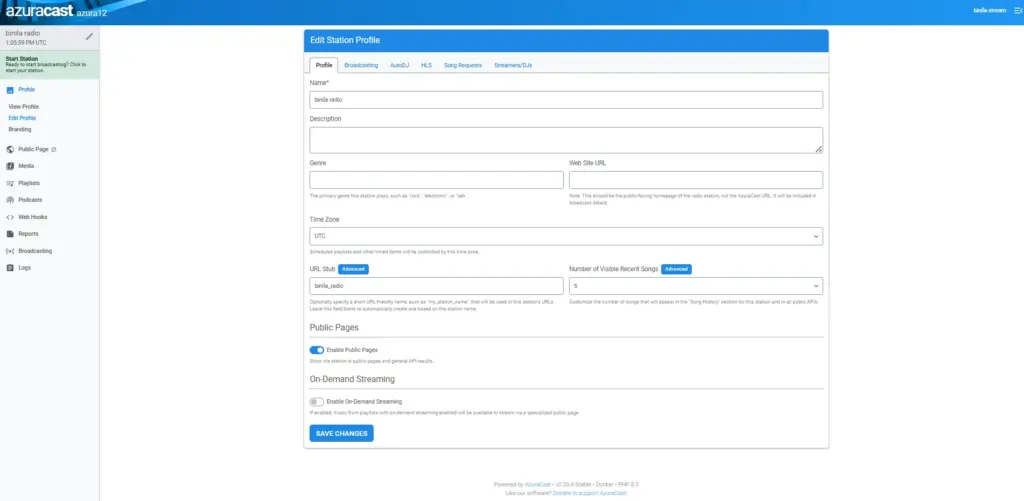
Open your station profile. This is where you should confirm the basic information about your station.
Check the station name and whether it appears correctly. Check the description and whether it explains what listeners can expect. Check the genre and whether the station is categorized correctly. Check the language and whether the correct one is selected. Check the time zone and whether it matches your station’s actual location.
These details matter because your station’s identity appears in different places throughout the listener experience.
For example, imagine you are creating a Malayalam online radio station for listeners in Kerala and the Gulf. Your profile could communicate Malayalam music, interviews, community programs, and live shows. That gives a listener immediate context.
Step 3: Check Your Station’s Public Page
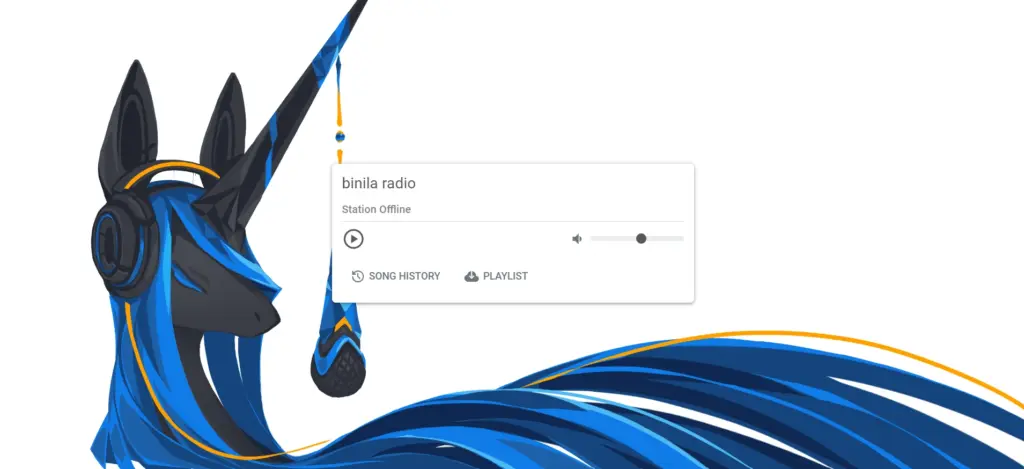
Next, open the Public Page. This is one of the most important things to check after your first login.
Your administration dashboard is where you manage the station. The public page is where your listeners experience it.
Open the public page and check what a visitor can see. Look for the station name, station logo, current track, player, station information, listener information, and recent tracks or other available station details.
Now open the public page from your phone. This is worth doing. A radio station is not finished when it works on your laptop. Your listeners may access it from phones, tablets, laptops, smart speakers, or other devices. Test the listener experience yourself.
Step 4: Set Up Your Station Branding
Go to the Branding section if it is available in your account. Upload your station logo and review the appearance of your station.
Keep the logo simple. A listener should be able to recognize the station quickly when they open the public page.
For example, a station named Campus FM with genre College Radio and description Music, student interviews, campus news and live shows gives visitors an immediate sense of identity.
A properly branded station feels much more complete when you share it publicly.
Step 5: Upload Your First Audio Files
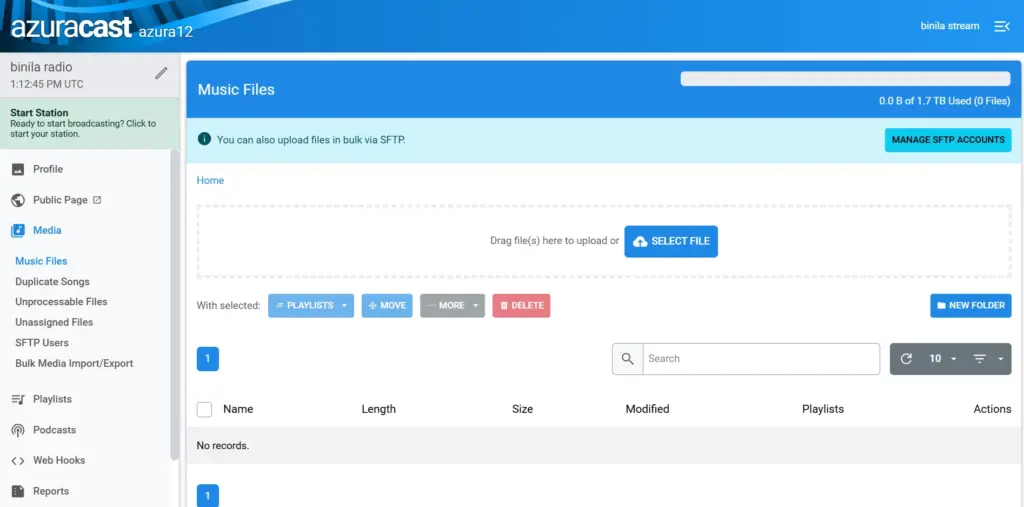
Now you can start adding content. Go to Media. This is where your station’s audio library lives.
For your first test, do not upload your entire music collection. Start with a small set of files, for example five music tracks, one station ID, one recorded show, and one short announcement.
This gives you enough material to test the complete workflow. Before uploading a large library, check that your files play correctly and contain the information you expect. You can then gradually build your media library.
Step 6: Organize Your Media
As your library grows, organization becomes important. Imagine you eventually have 2,000 audio files. If everything sits in one huge collection, managing the station becomes messy.
Create a logical structure for your content. Under Music you might have Pop, Rock, Malayalam, Hindi, and English. Under Programs you might have Interviews, Talk Shows, and Campus News. Under Station Content you might have Station IDs, Promos, and Announcements.
You can then use this content when creating playlists. Good organization also makes troubleshooting easier later. If a playlist is not behaving as expected, you will know exactly where its content comes from.
Step 7: Create Your First Playlist
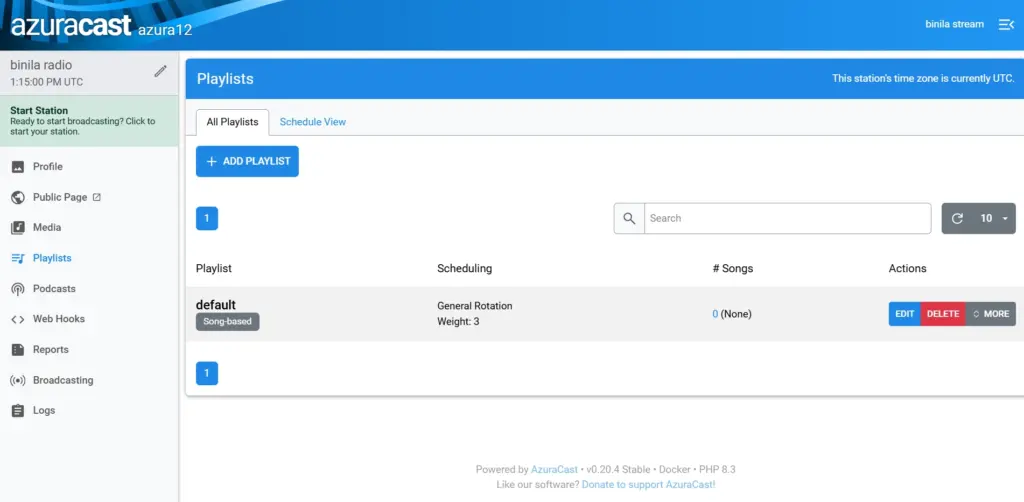
Uploading music does not automatically create a useful radio schedule. That is where Playlists come in.
Create your first playlist. For a basic test, you could create a Test Music Playlist and add your uploaded tracks. Once the playlist contains enough content, you can use it with AutoDJ.
Later, you can create multiple playlists for different time blocks, for example a Morning Playlist from 7 AM to 10 AM, an Afternoon Playlist from 10 AM to 4 PM, an Evening Show from 4 PM to 8 PM, and a Night Playlist from 8 PM to 12 AM.
This lets you build a proper programming schedule instead of randomly playing every file in your library.
Step 8: Understand AutoDJ
This is one of the most important concepts for a new online radio station owner.
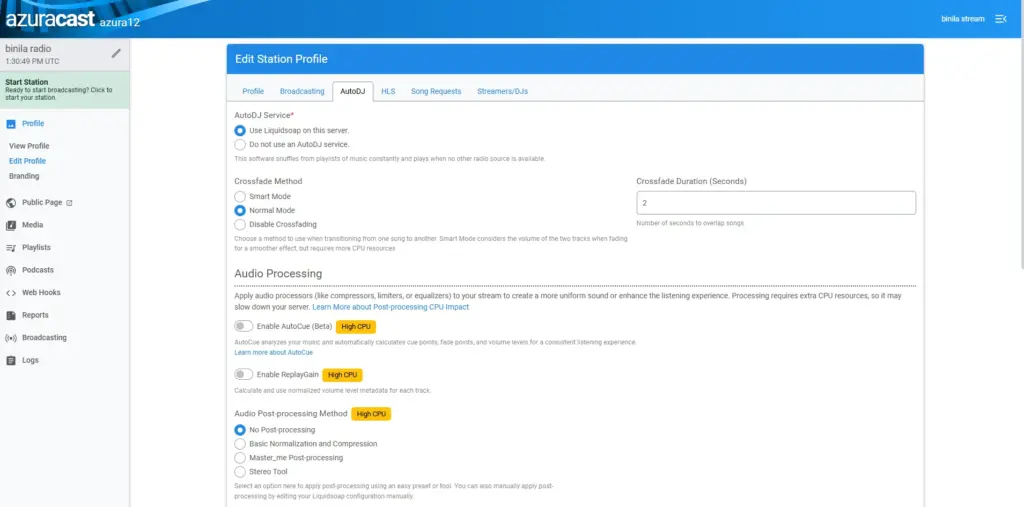
AutoDJ allows your station to continue playing scheduled or selected media without requiring a DJ to remain connected continuously.
Think about a traditional radio station. A presenter might host a live show from 6 PM to 8 PM. What happens at 2 AM? You still want the station playing. AutoDJ handles the automated programming during those periods.
Your workflow becomes upload media, create playlist, configure playlist, AutoDJ plays content, and listeners hear your station.
This is what allows an online radio station to operate beyond your live broadcasting hours.
Step 9: Start Your Automated Broadcast
Once your media and playlist are ready, check your station’s AutoDJ and broadcasting status. Start the appropriate service according to your station configuration. Then wait for your first track to begin playing.
Now open the public page. Can you hear the audio? If yes, you have completed the most important part of your initial setup. Your station is now producing an online stream.
Step 10: Test the Stream From Another Device
Do not stop after testing it on the same computer. Take your phone. Connect it to a different network if possible. Open your public radio page. Start the player. Listen for at least a few minutes.
Check whether the player loads, whether audio starts, whether the current song appears, whether the stream remains connected, and whether the audio quality sounds acceptable.
This catches problems that are not obvious when you are testing everything from the administrator’s computer.
Step 11: Explore Broadcasting
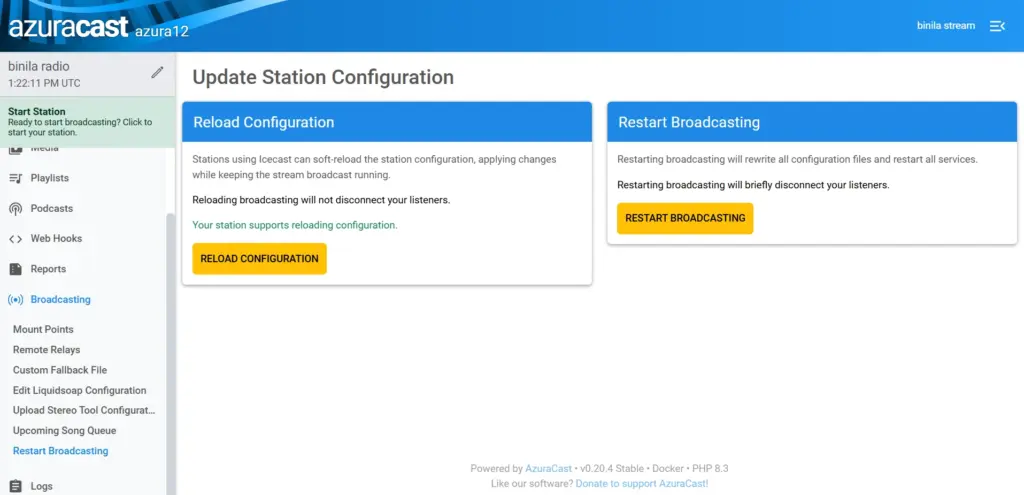
Once AutoDJ is working, move on to live broadcasting. This is where you can turn your online radio station into an actual live radio experience.
A typical live setup looks like microphone to broadcasting software to AzuraCast to radio stream to listener.
You can use compatible broadcasting software on your computer to send your microphone and audio to the station. Before attempting your first live show, find the broadcasting connection information provided by your AzuraCast station. You will need the appropriate server and authentication details for your broadcasting software. Do not guess these values. Use the connection information provided by your station.
Step 12: Test a Short Live Broadcast
Do not make your first test a two hour show. Run a five minute test. Speak into your microphone. Play some audio. Watch the AzuraCast dashboard. Then open the public player on another device.
You want to confirm the full path from your microphone through broadcasting software through AzuraCast to the listener.
If you can hear yourself through the public stream, you have completed your first live broadcast test. That is a much better milestone than simply seeing connected in broadcasting software.
Step 13: Learn Where the Reports Are
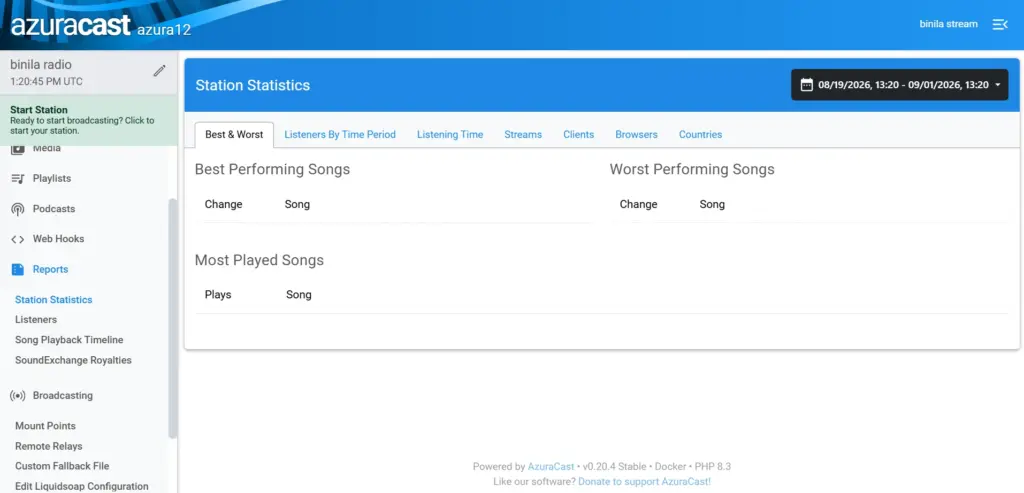
Once your station is running, you will want to know whether people are actually listening. Open Reports.
Your available reporting options depend on your AzuraCast configuration and permissions, but this section is where you will begin exploring station activity and listener information.
You can start asking useful questions. How many listeners are tuning in? When are listeners most active? Which programs attract more attention? Is the audience growing?
Do not obsess over the numbers on day one. You need enough listening activity to identify meaningful patterns.
Step 14: Keep Logs in Mind
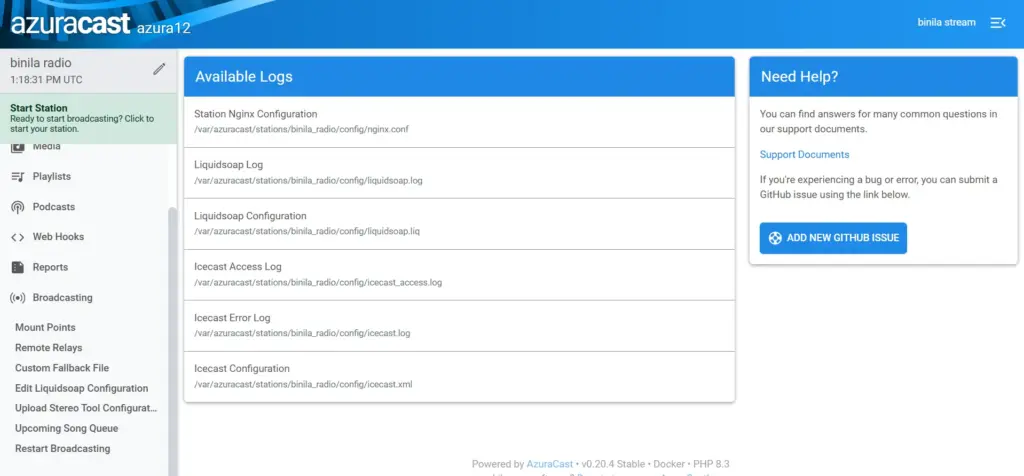
The Logs section becomes especially useful when something goes wrong. For example, your playlist is not playing, your DJ cannot connect, or your stream is not behaving as expected.
Your first instinct might be to start changing random settings. Do not. Check the relevant status information and logs first. Logs can provide clues about what the system is doing and help you identify the source of a problem. This becomes increasingly important as your station gets more complicated.
Step 15: Do Not Change Advanced Settings Just Yet
A new AzuraCast account can expose a lot of functionality. You may see things related to Web Hooks, mount points, broadcasting configuration, stream settings, and advanced station options.
You do not need to change everything. Get this working first: Station, then Media, then Playlist, then AutoDJ, then Public Stream. Then: Broadcasting Software, then Live Broadcast, then Public Stream.
Once those two workflows work, you have a functional foundation.
Your First AzuraCast Checklist
For Station: check station name, check description, check genre, check language, check time zone.
For Branding: upload station logo, check public appearance.
For Media: upload several audio files, confirm files are available, organize your content.
For Playlists: create your first playlist, add audio files, configure the playlist.
For AutoDJ: start automated playback, check the currently playing track, test the public player.
For Live Broadcasting: find your broadcasting connection details, configure broadcasting software, test your microphone, run a short live broadcast, verify the broadcast from another device.
For Monitoring: check listeners, explore reports, know where to find logs.
Conclusion
Getting started with AzuraCast does not have to be complicated. After your first login, focus on the essentials: understand your dashboard, check your station profile, add your branding, upload a small collection of media, create playlists, configure AutoDJ, and test your public stream.
Once automated playback is working, you can move on to live broadcasting and test the complete journey from your microphone and broadcasting software to AzuraCast and finally to your listeners.
The key is to build your station step by step rather than changing advanced settings before you understand how everything works. With a properly configured hosting environment and a little testing, you can create a reliable online radio station that is ready for both automated programming and live shows.
If you are looking for an easy way to get started, Ucartz AzuraCast Radio Hosting can provide the hosting environment you need to run your online radio station. Set up your station, upload your content, configure your playlists, and start broadcasting to your audience.
FAQ
What is the very first thing I should do after logging into AzuraCast?
Explore the dashboard without changing anything, then move to checking your station profile before touching media or broadcasting settings.
Do I need to upload my entire music library on day one?
No. Start with a small test set, for example five tracks, one station ID, one recorded show, and one announcement, to confirm the workflow works before uploading everything.
Should I test my stream from more than one device?
Yes. Testing from your phone, ideally on a different network than your computer, catches problems that are not visible when testing only from the administrator’s machine.
What do I need before running my first live broadcast?
You need the broadcasting connection information from your AzuraCast station, which includes server and authentication details, plus compatible broadcasting software and a working microphone.