CodeIgniter is an open-source software rapid development web framework, for use in building dynamic websites with PHP. It is loosely based on the popular model–view–controller (MVC) development pattern. Most often known for its speed when compared to other PHP frameworks. It allows developers to maintain modular grouping of Controller, Models and View arranged in a sub-directory format.
Install Apache
First of all, you need to issue the following command to update your repository list:
apt-get updateThen you can install Apache 2 easily using “apt” with the following command:
apt-get install apache2After the installation process is finished you can use the commands below to start your Apache service and make it run at startup:
systemctl start apache2
systemctl enable apache2
Install PHP 7.1
PHP 7.1 is not provided by the official repository so you have to add “PPA” repo in order to install it easily.
First, install Python Software Package with the following command:
apt-get install python-software-propertiesNow you can add the preferred repository:
add-apt-repository ppa:ondrej/phpUpdate your repository list to fetch the latest packages with the command below:
apt-get updateexecute the command below to easily install PHP 7.1 and the needed extensions:
apt-get install php7.1 php7.1-xml php7.1-mbstring php7.1-mysql php7.1-json php7.1-curl php7.1-cli php7.1-common php7.1-mcrypt php7.1-gd libapache2-mod-php7.1 php7.1-zipInstall MariaDB 10.2 (Latest)
At the time of the writing, 10.2 is the latest stable version of MariaDB.
First of all, you need to install the Software properties package:
apt-get install software-properties-commonImport the signing key with the following command:
apt-key adv --recv-keys --keyserver hkp://keyserver.ubuntu.com:80 0xF1656F24C74CD1D8
Now you can add the MariaDB repository with the command below:
add-apt-repository 'deb [arch=amd64,i386,ppc64el] http://ftp.utexas.edu/mariadb/repo/10.2/ubuntu xenial main'
Install MariaDB-Server package:
apt-get install mariadb-serverAnd after the installation, don’t forget to start and enable the service:
systemctl start mariadb
systemctl enable mariadb
Creating Database
First of all, we need to do some initial configuration for MariaDB.
Run the Mysql installer script with the following command:
mysql_secure_installationSet a password for the “root” user and answer all other question with “y”
Login to root user with the following command:
mysql -u root -pNow we can create our database with the command below (Make sure to replace the red parts with your preferred values):
create database HS;
grant all privileges on *.* to 'username'@'localhost' identified by 'password';
flush privileges;
Download CodeIgniter
Now we are going to download the CodeIgniter from the official website in our DocumentRoot:
wget https://codeload.github.com/bcit-ci/CodeIgniter/zip/3.1.7 -P /var/www/html/You need to extract the source files from the “zip” file that you just download, so install “Unzip” first:
apt-get install unzipUnzip the downloaded file with the following command:
unzip /var/www/html/3.1.7 -d /var/www/html/Rename the extracted directory as below:
mv /var/www/html/CodeIgniter-3.1.7 /var/www/html/codeigniterSet the Database
In CodeIgniter configuration files there is a “database.php” file which you can set your Databases information in it:
nano /var/www/html/codeigniter/application/config/database.phpFind the following block in that file, and enter your Database information:
$db['default'] = array(
        'dsn'   => '',
        'hostname' => 'localhost',
        'username' => 'username',
        'password' => 'password',
        'database' => 'HS',
        'dbdriver' => 'mysqli',
        'dbprefix' => '',
        'pconnect' => FALSE,
        'db_debug' => (ENVIRONMENT !== 'production'),
        'cache_on' => FALSE,
        'cachedir' => '',
        'char_set' => 'utf8',
        'dbcollat' => 'utf8_general_ci',
        'swap_pre' => '',
        'encrypt' => FALSE,
        'compress' => FALSE,
        'stricton' => FALSE,
        'failover' => array(),
        'save_queries' => TRUE
);
Set the correct DocumentRoot
Open the Apache configuration file:
nano /etc/apache2/sites-available/000-default.confFind the line that refers to:
DocumentRoot "/var/www/html"and change it like below:
DocumentRoot "/var/www/html/codeigniter/"Then save and exit.
Restart Apache to take effect:
systemctl restart apache2Set the Permissions
Execute the following command one by one to set the proper permissions:
chown -R www-data:www-data /var/www/html/codeigniter/Test if everything works fine
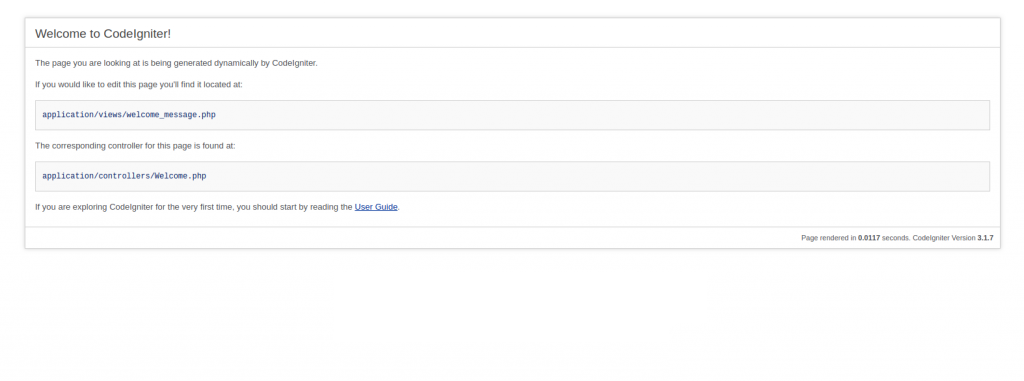
Now you can open your browser and check your public IP address or your Domain through it.