1. Login to the WHMCS admin dashboard.
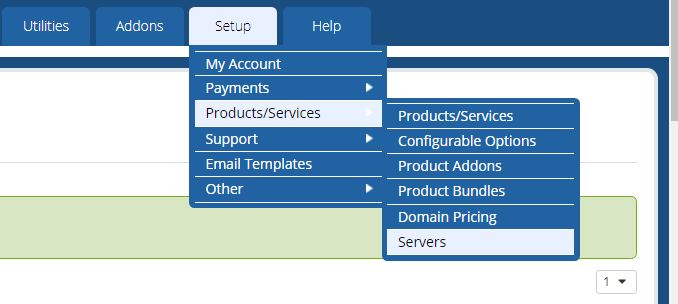
2. Hover over Setup -> Products/Services and click on Servers.
3. From the server page, click on Add New Server.
4. On the New Server page, give it a name.
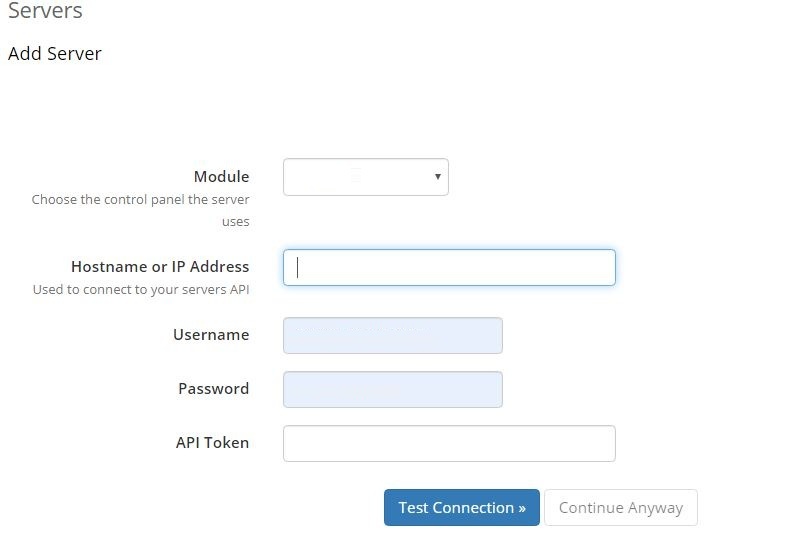
4. Now, fill in the IP and Hostname fields.
5. Next, add the servers nameserver information.
6. Select the server type and enter the login information.
7. Once completed, click the Save button.
OPTIONAL: Once the server is added to the list, click on the name to make it the default server (indicated by the asterisk {*}).


